Make the Velotric T1 BETTER
The Velotric T1 is a flat bar electric gravel bike. For $1799 it sparked our interest as a capable electric gravel bike on a budget. The short list of appealing specs include: 350W motor, 350Wh battery, hydraulic brakes, and an 8 speed drivetrain.
For less than $2000 the Velotric T1 delivers a tidy package with some unique tech features. Leaving the house and heading towards the woods, the ~70 mile range offered plenty of assist to fill a whole day exploring fire roads. Additionally the ~37 pound weight of the T1 made it ride light and easy to maneuver.
After a few months of riding, we were confident that it was time to make some upgrades. We may have gone a little over board, but every step of the way these improvements have made the T1 noticeably more capable and more enjoyable to ride.
Here are the 5 things we upgraded:
- Increased Traction: Larger and more aggressive tires for gravel roads and wet riding.
- Optimize Comfort:A properly fitting seat for long rides in the saddle, and it has a handle.
- Handlebars and more: Wider bars for increased control and comfort.
- Dropper Post: Lowering the saddle to have more freedom while riding.
- Suspension Fork: Ride faster with more control while increasing comfort and endurance.
Increased Traction:
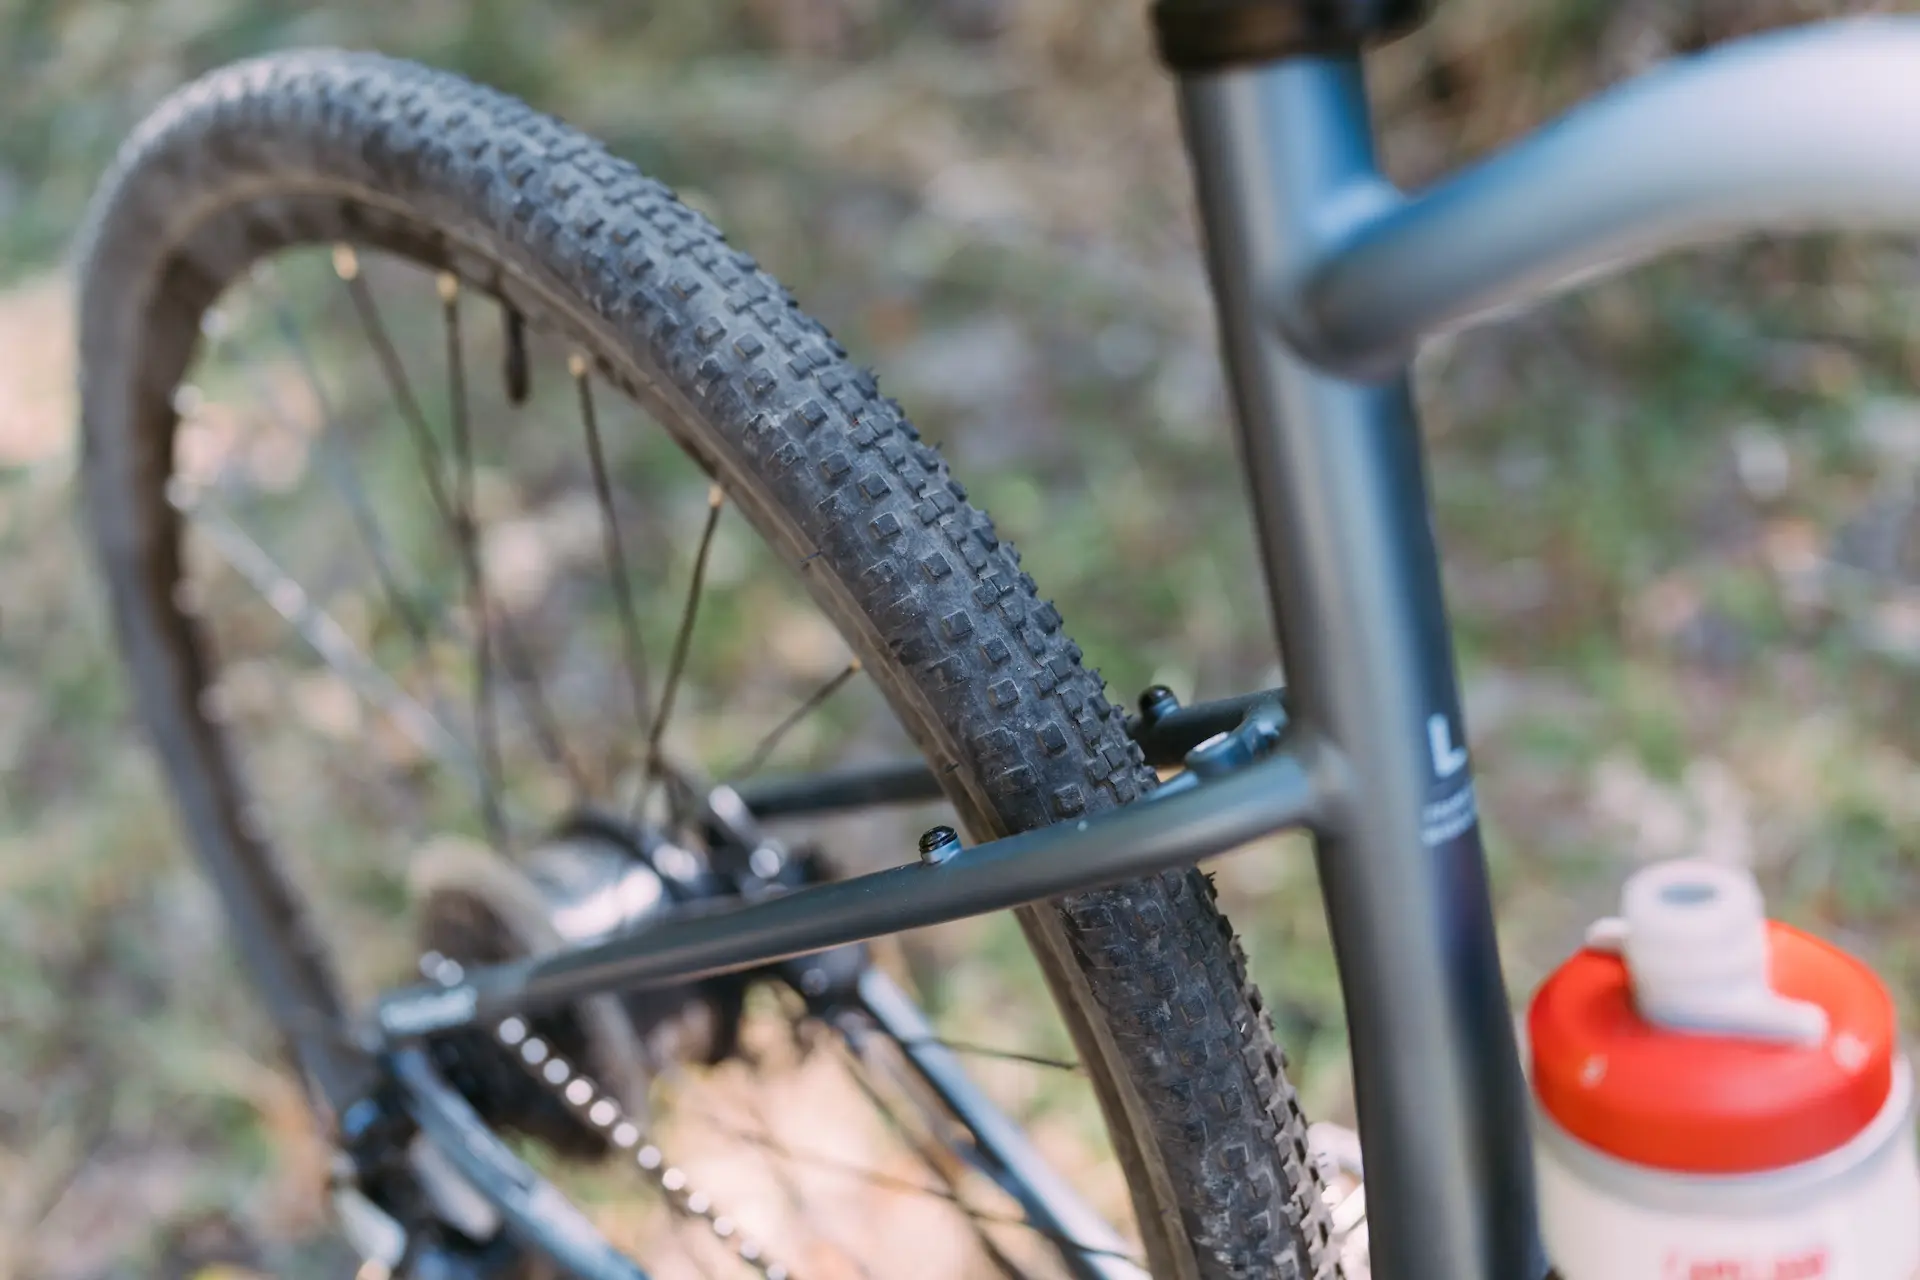
As an electric gravel bike, we want to ride the T1 on gravel roads as much as possible. Rough terrain and muddy conditions had us looking for more traction. We turned to WTB’s Resolute tires which are a great Year Round gravel tire. The tread has small square knobs that are widely spread, ideal for the rough road we ride. Of the WTB Resolute options we chose the 700x42c for increased width and volume with the SG2 puncture protection.
On the tarmac there is a noticeable difference in rolling resistance from the original tires. The off road performance however, is far superior for keeping traction.
Optimize comfort:
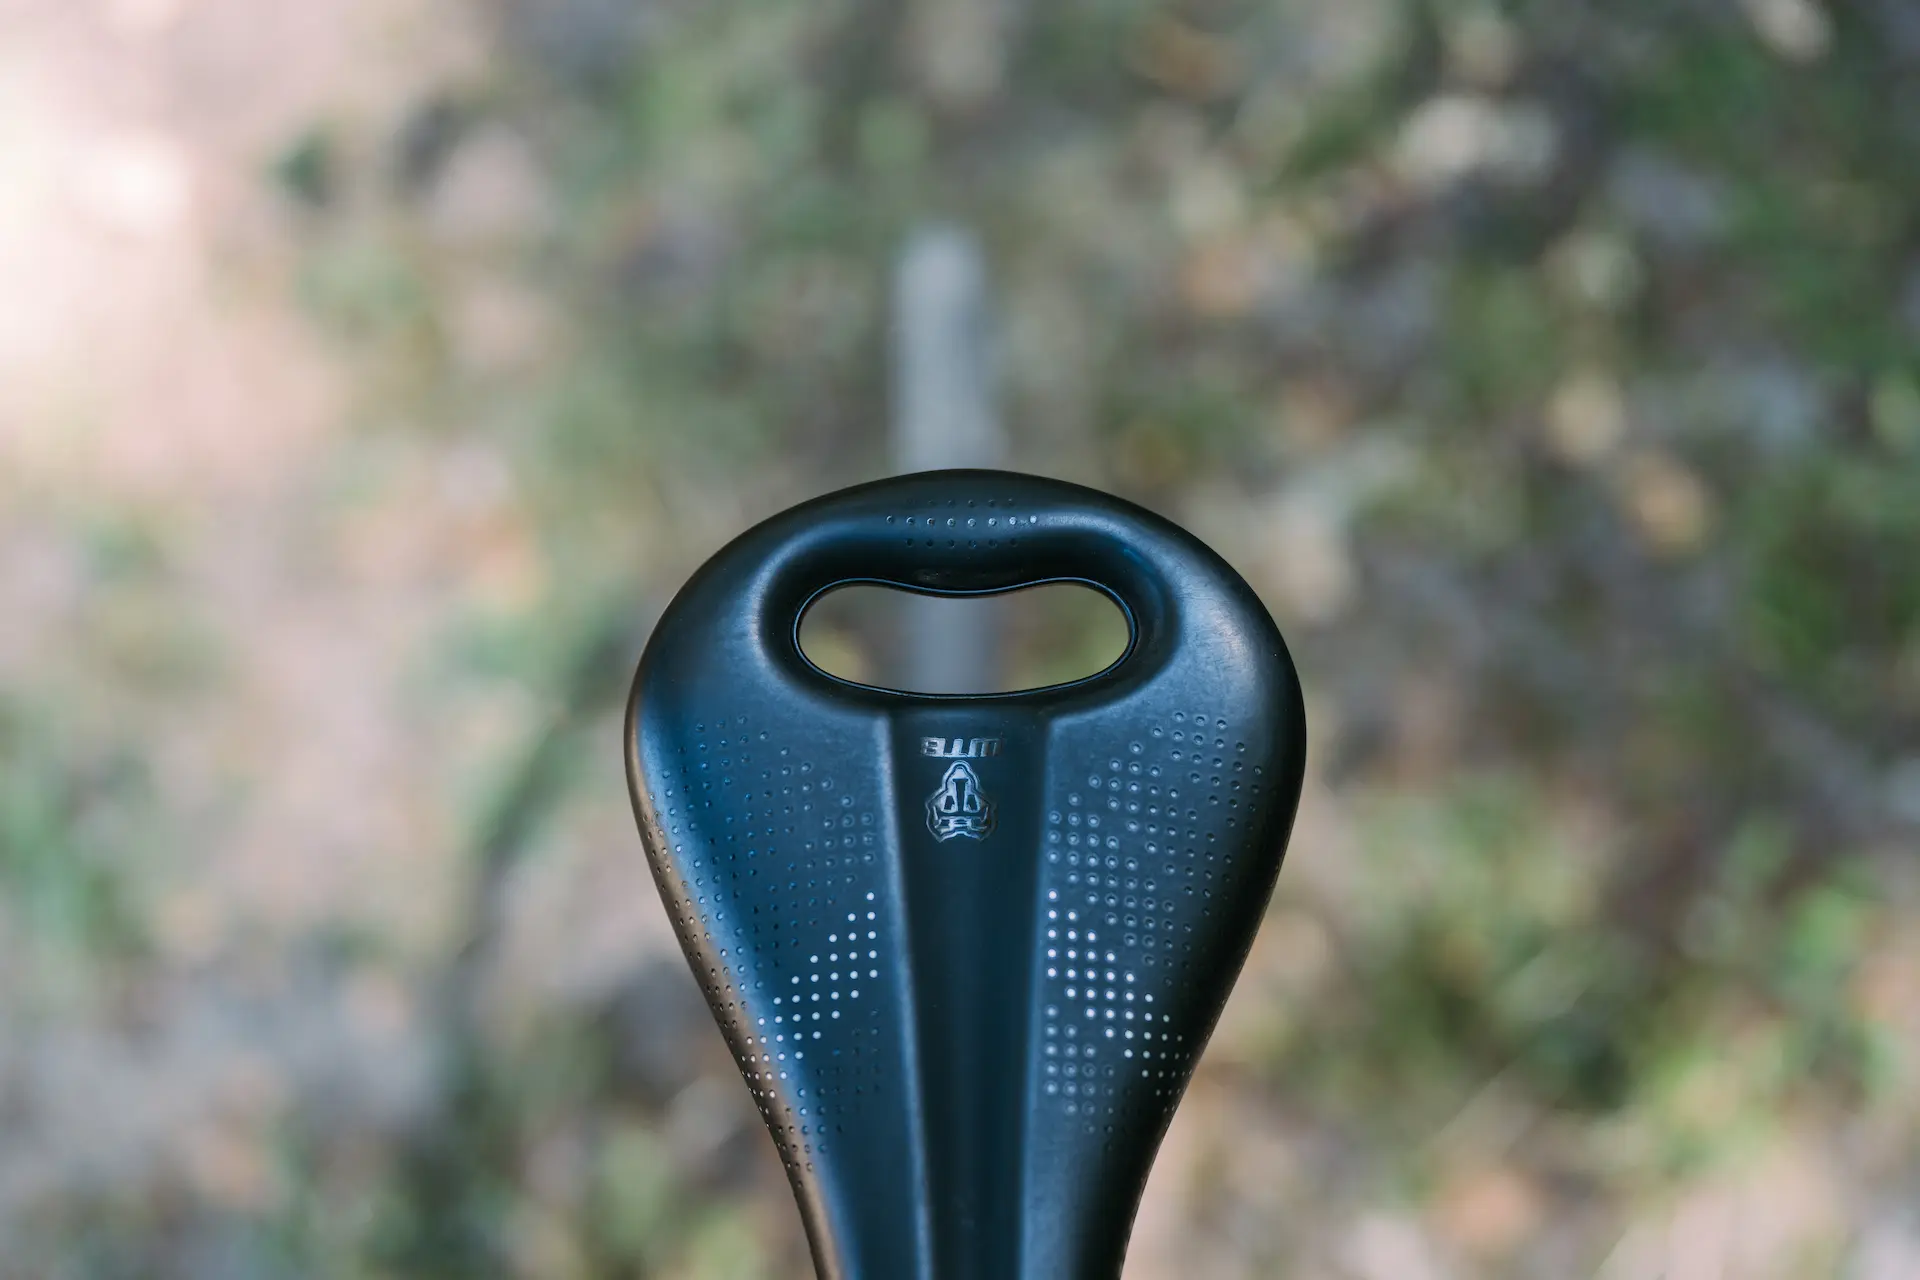
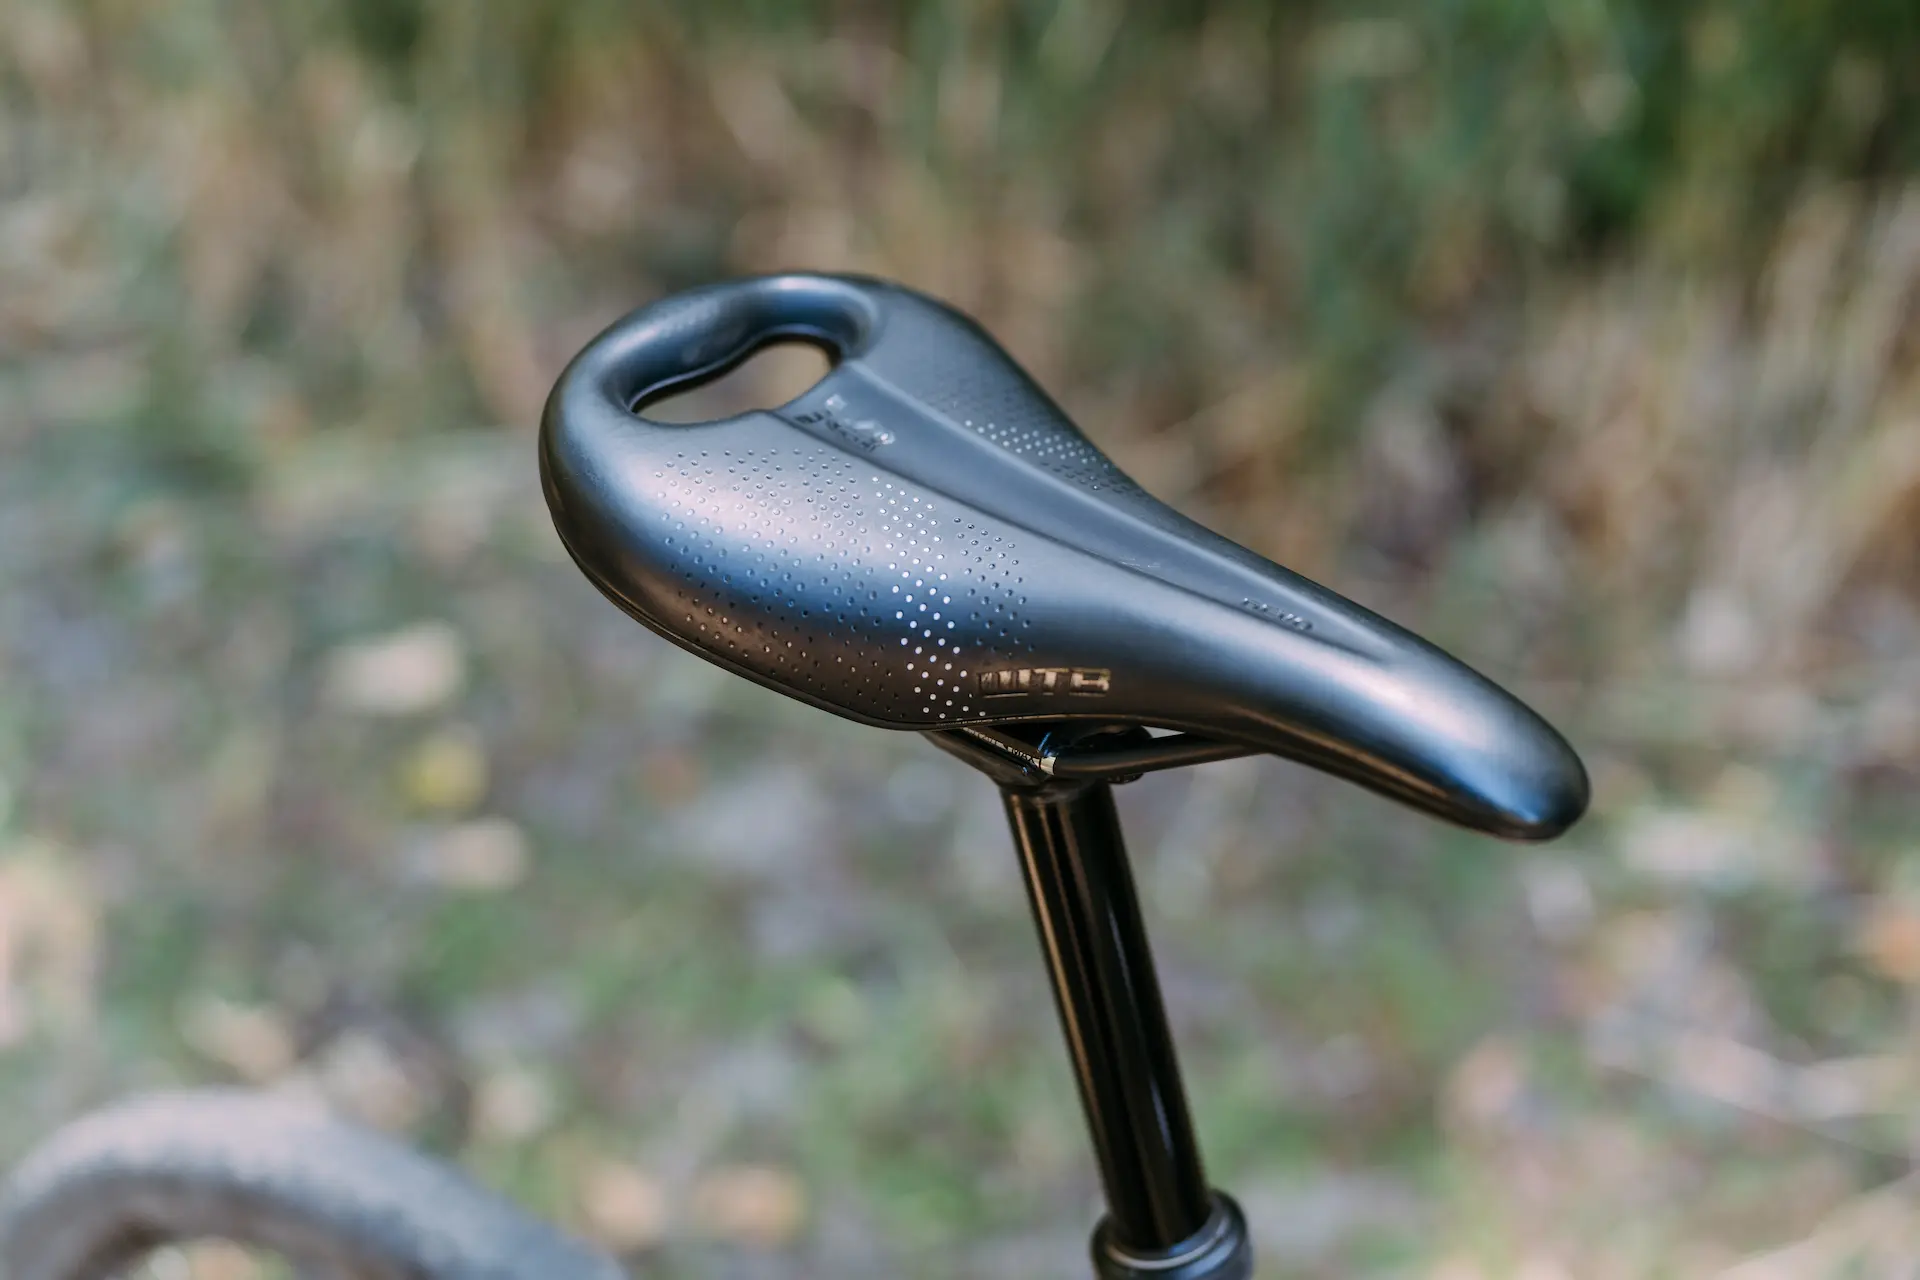
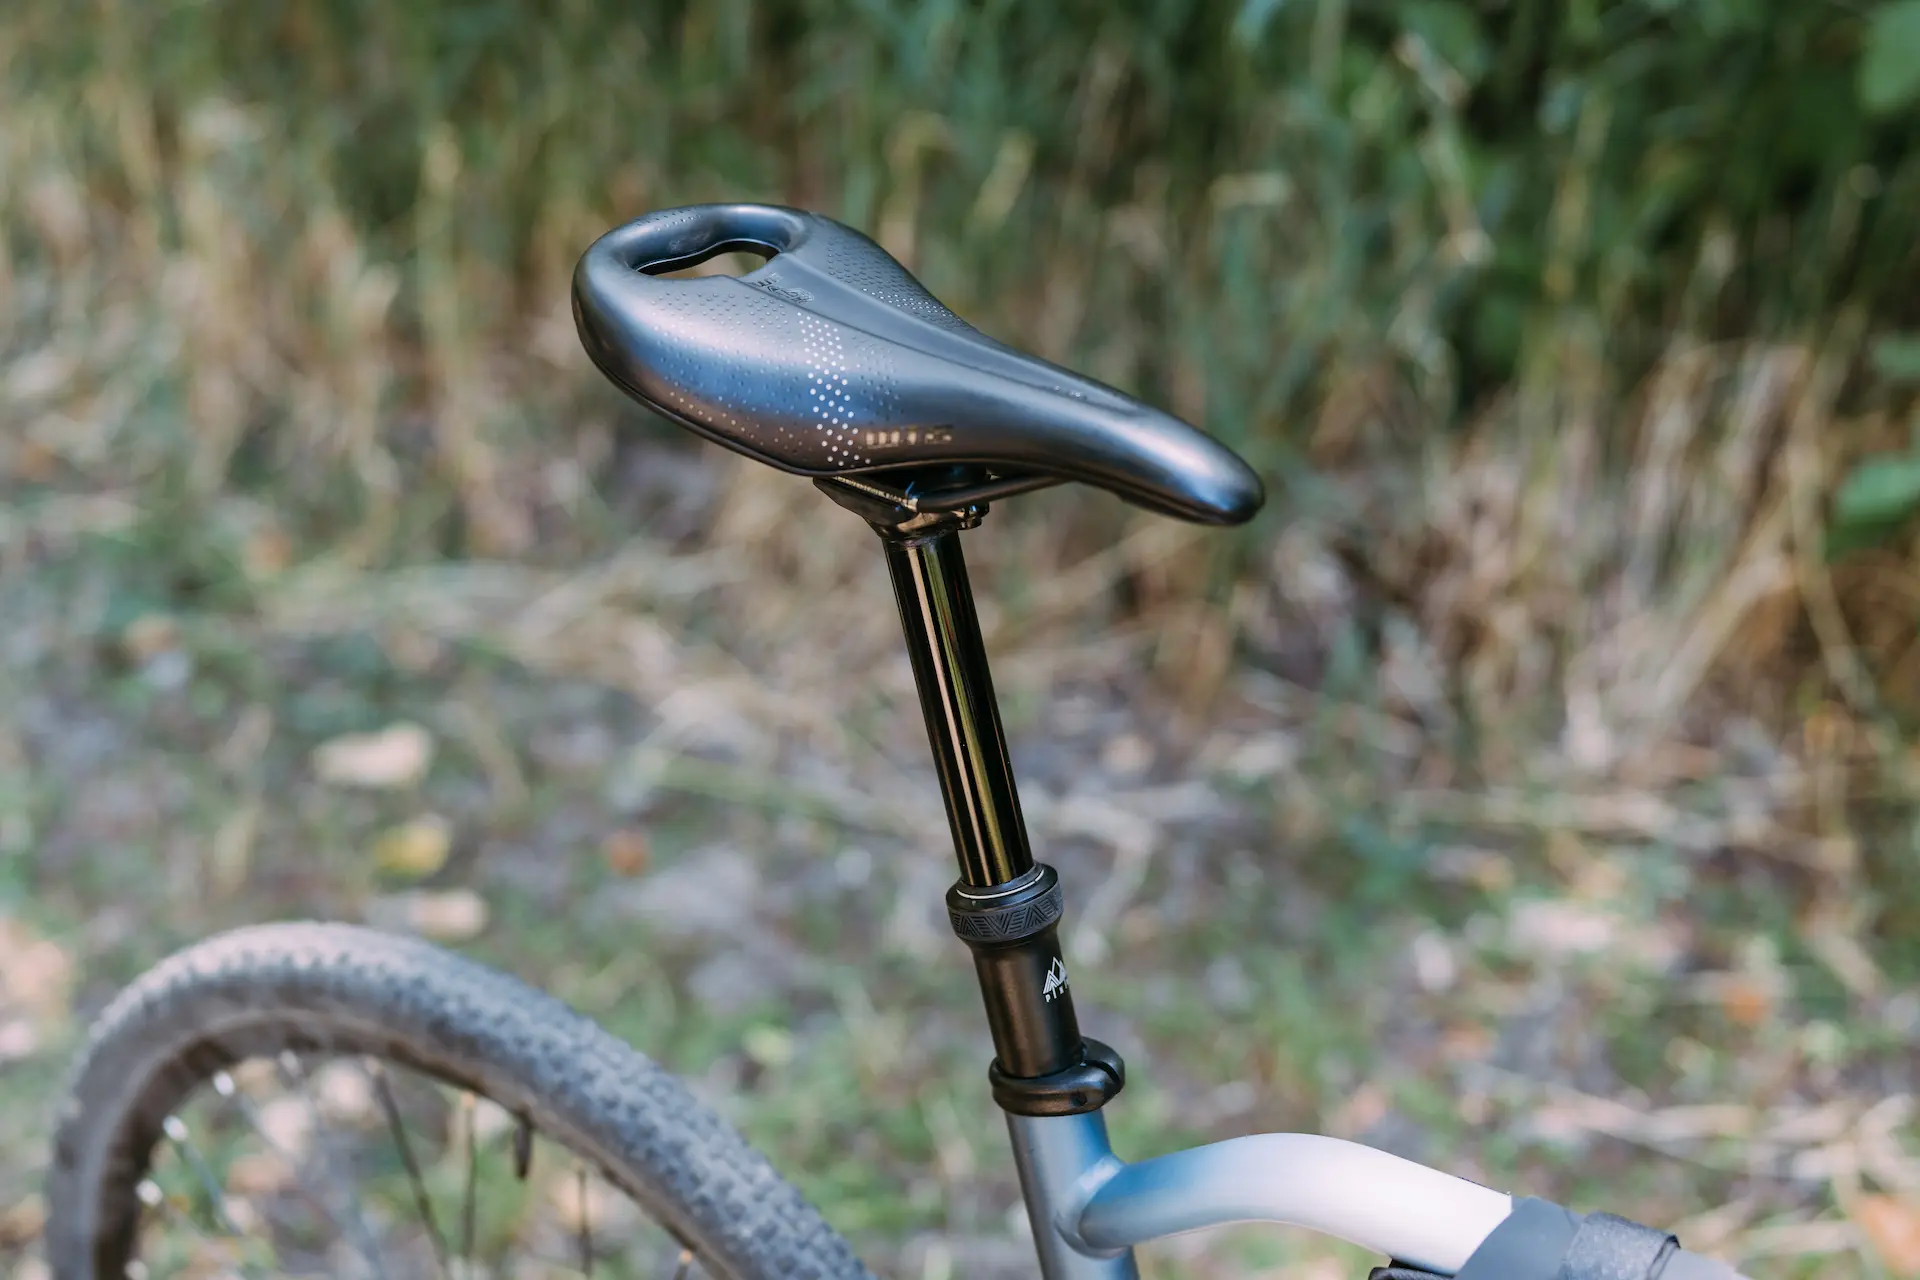
With 70 miles of pedal assist you’re guaranteed to spend long days in the saddle. This made for our second focus on the T1. WTB’s Devo saddle w/ pickup handle was our first choice.
Having the right saddle makes a world of difference when you’re going on long rides. The WTB Devo saddle happens to be a fantastic fit for myself and has become my go to saddle of choice amongst many of my bikes in varying disciplines.
Additionally, the handle makes it extremely convenient when moving the T1 around. From loading up on the bike rack or needing a clear spot to grab ahold of the bike, the handle is the bonus we didn’t know we were looking for.
Handlebars and More:
When approaching your bike and considering upgrades and improvements, bike fitment and rider comfort is important to address.
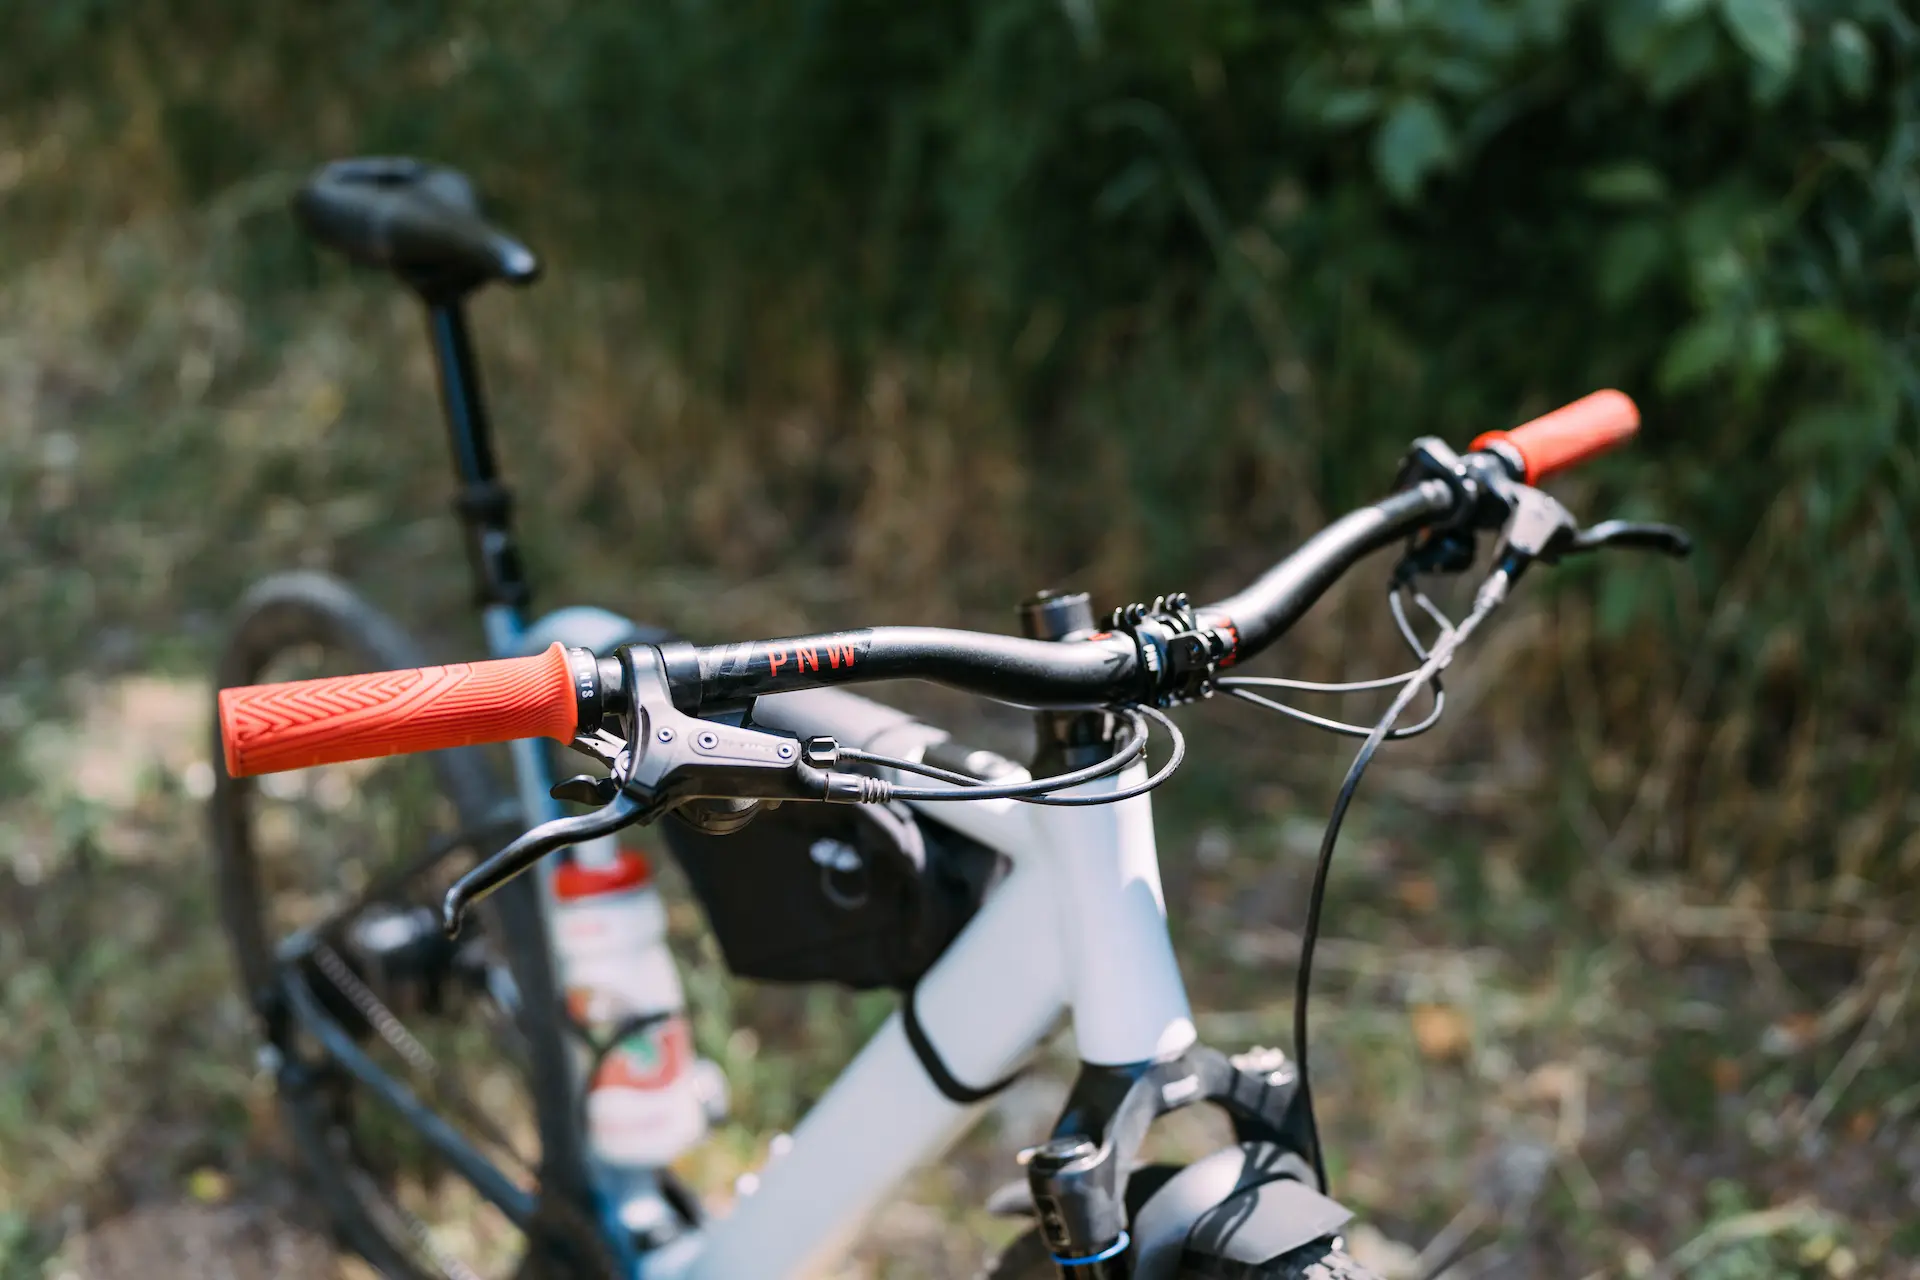
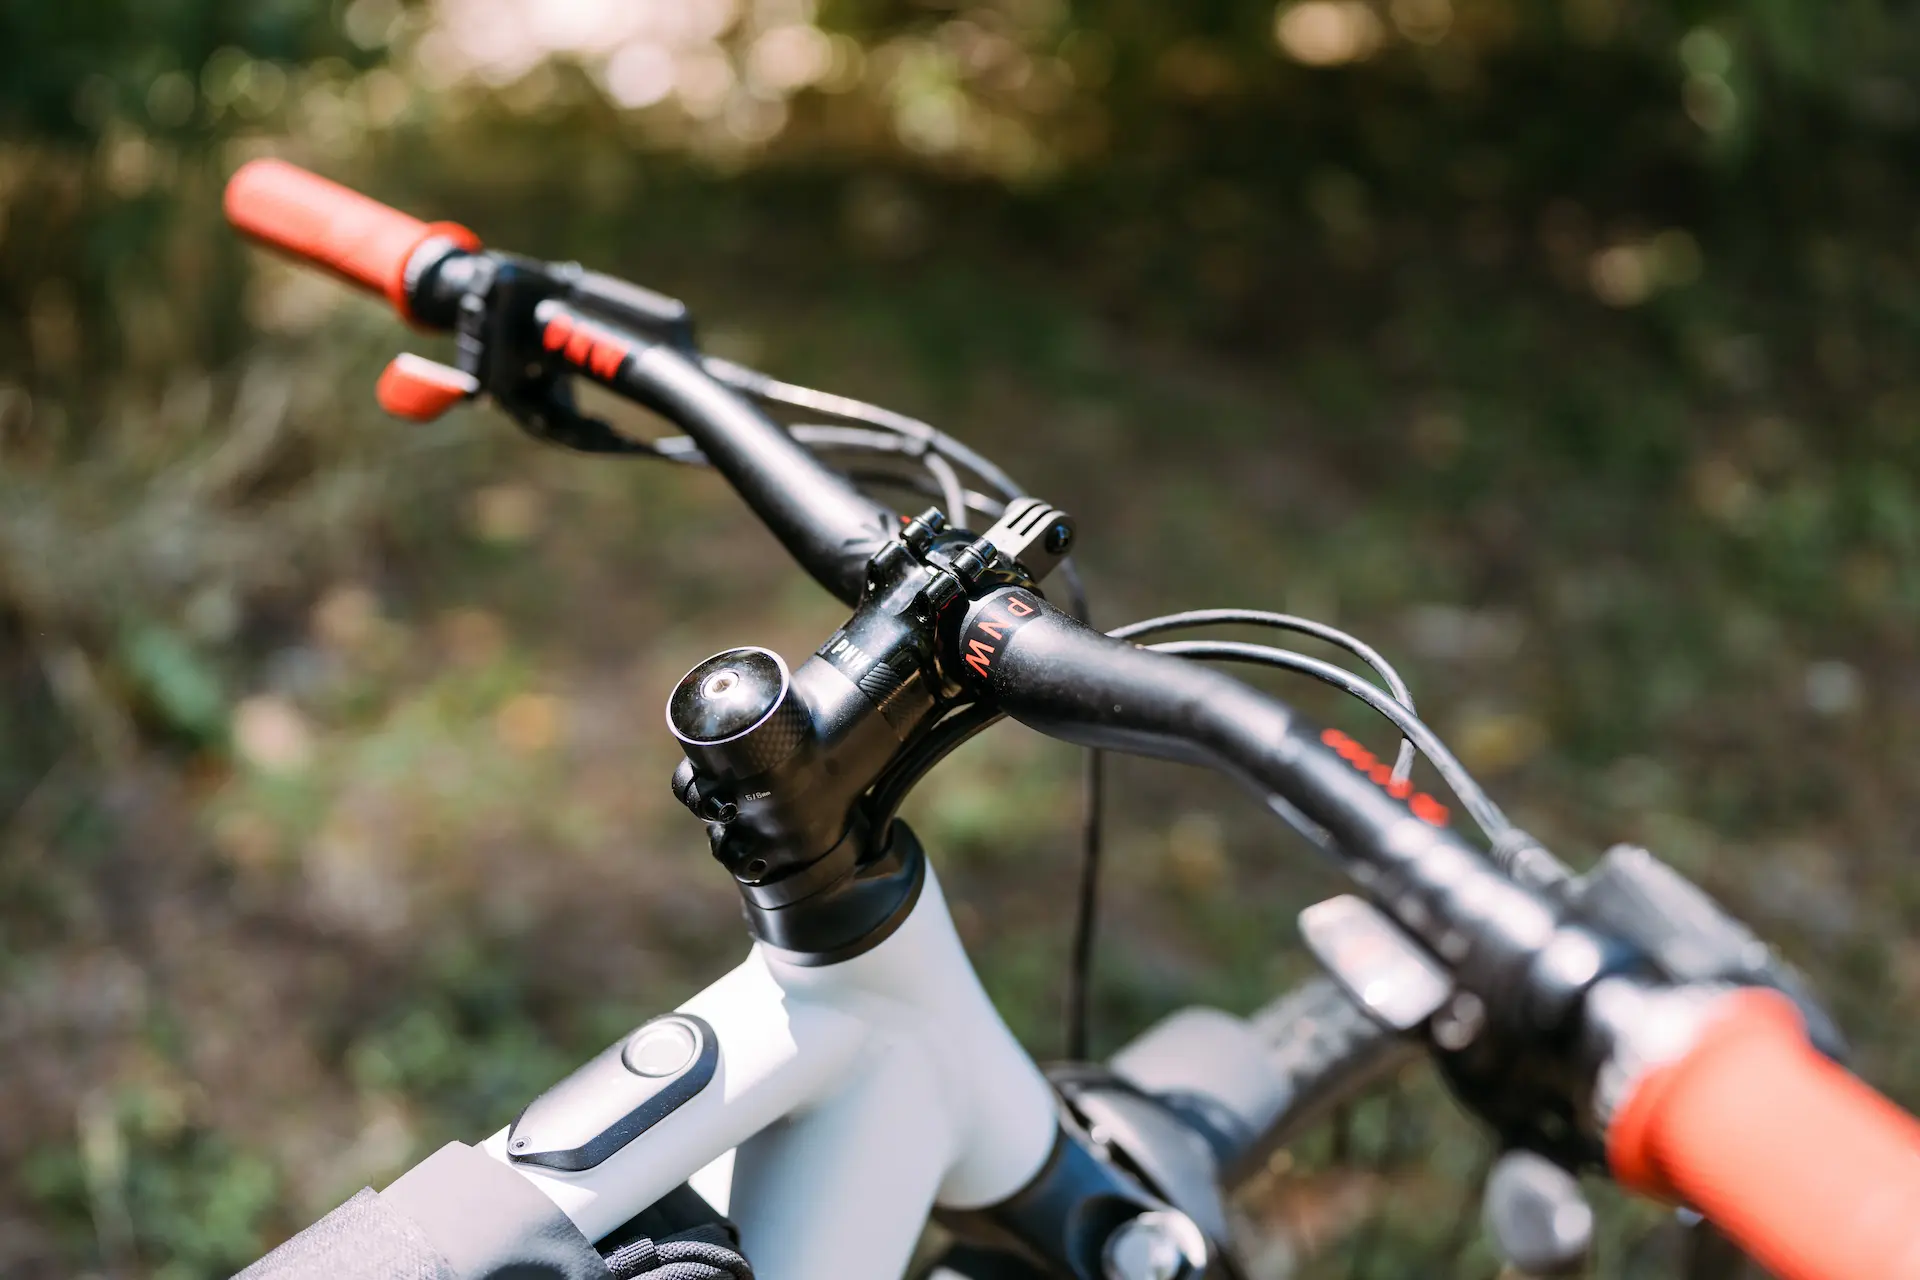
The PNW Components Range Gen.3 Handlebars have become some of our favorite alloy bars to ride on our mountain bikes. With ample time riding them on other bikes and knowing how strong and comfortable they are, they were an easy decision to add some width and comfort to the T1.
The handlebars on the T1 are rather narrow and for my height and riding style I needed more width. The Range bars are 800mm width which gave us ample room to trim down to the perfect size while still increasing our overall bar width.
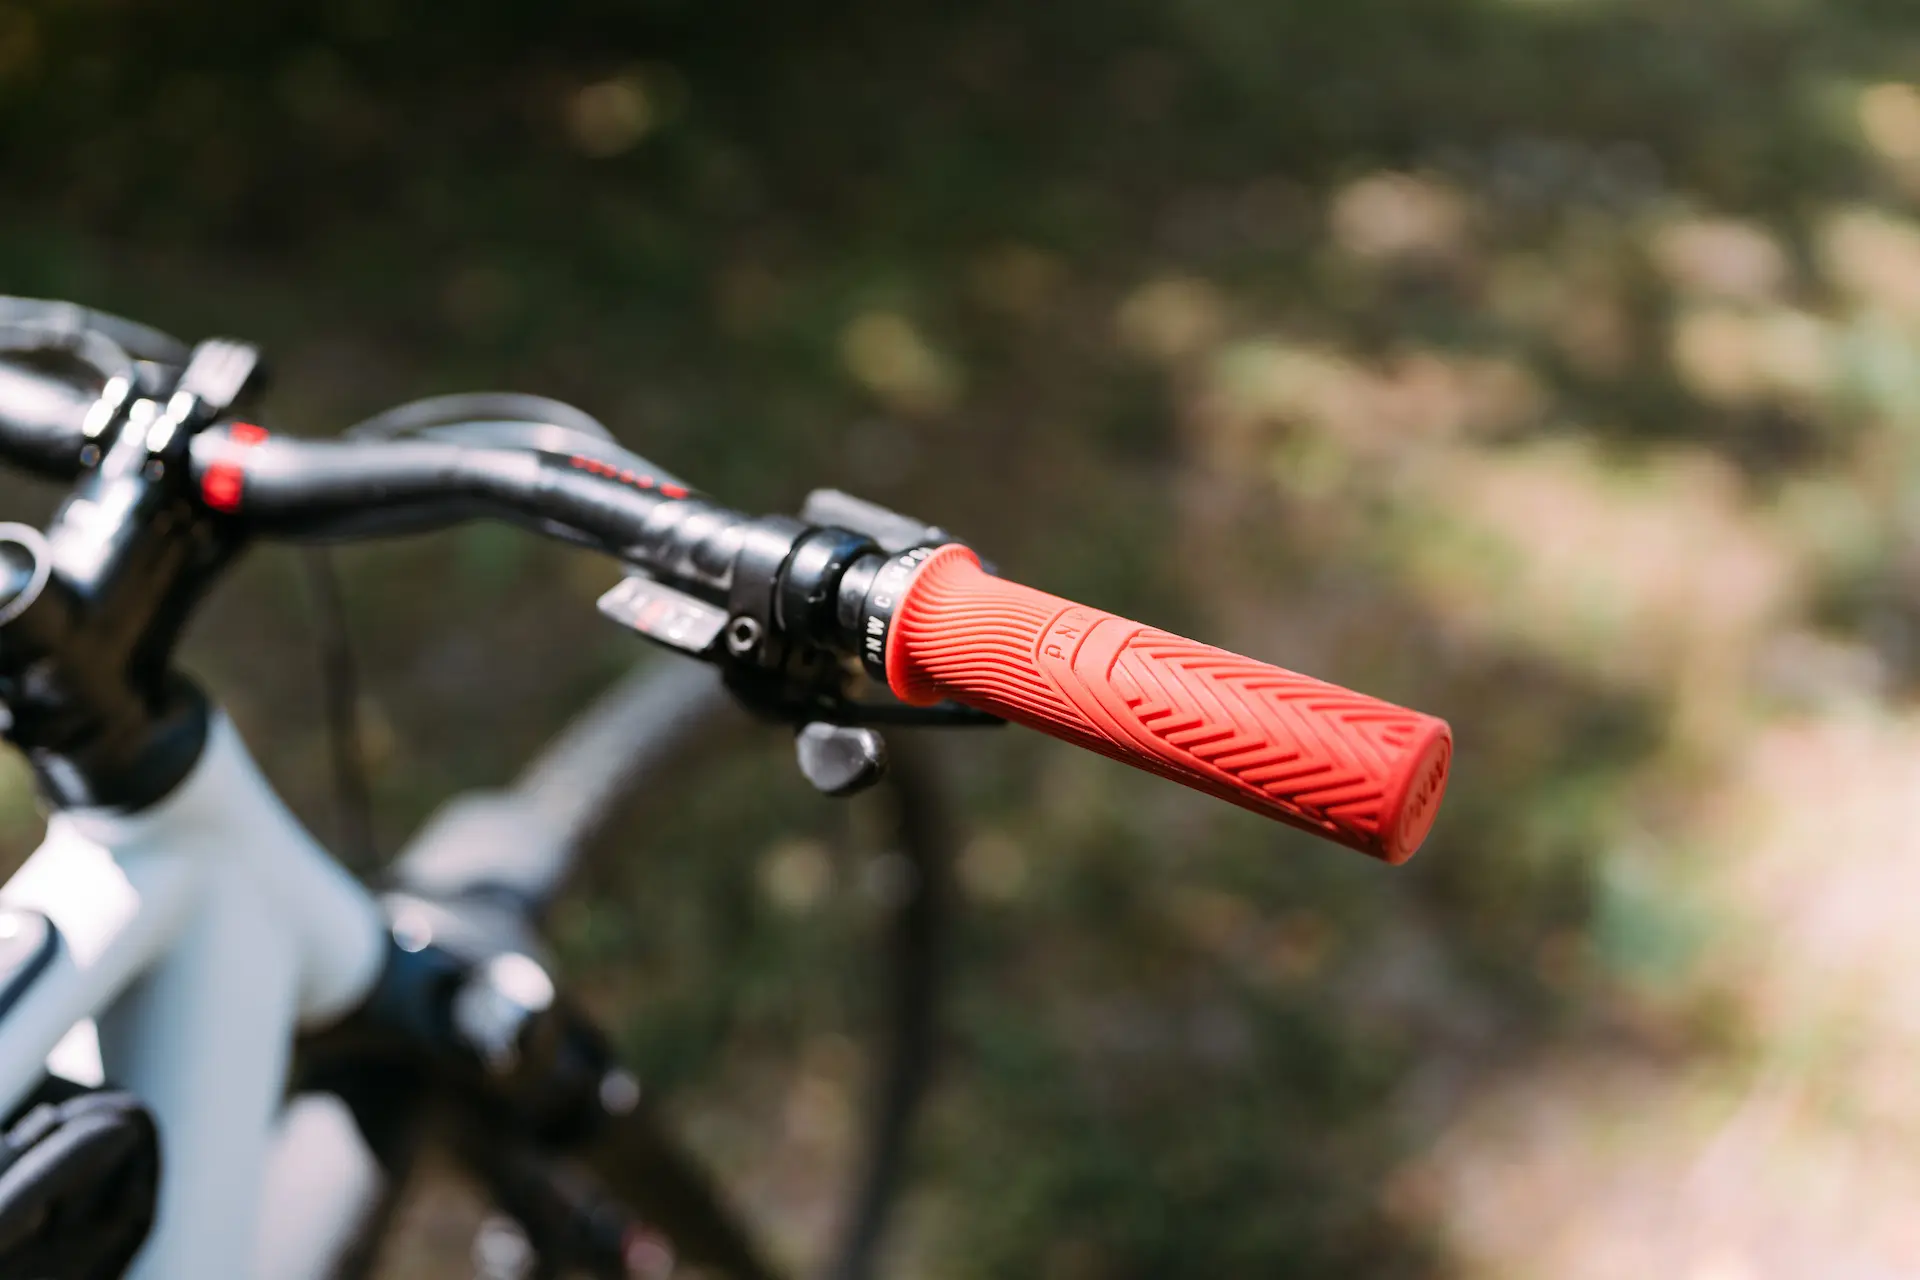
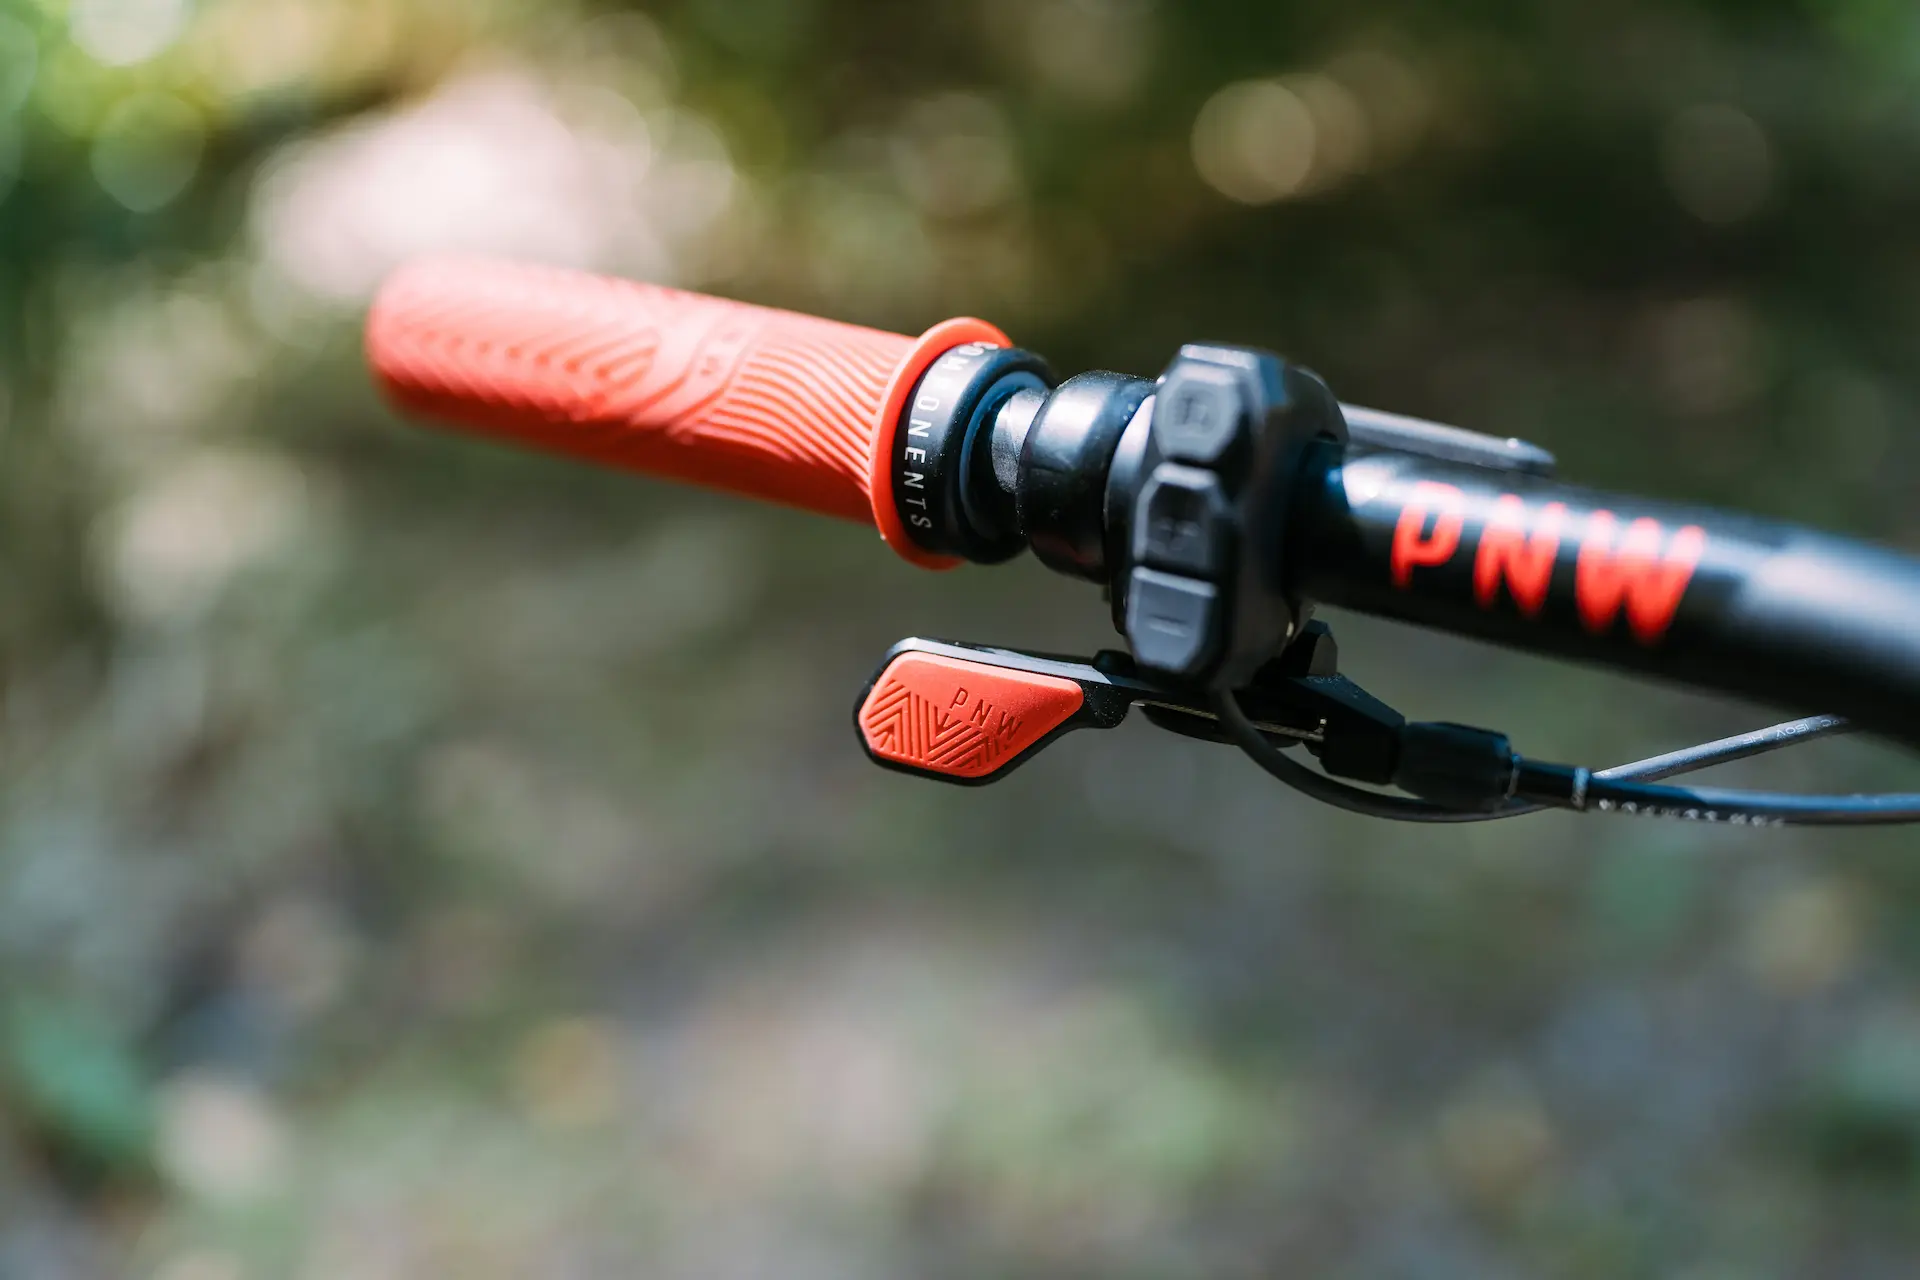
To mount the Range Handlebars we used a 100mm length PNW Components Coast stem which matches great and helped to give me the ideal reach while riding. Wrapping up the cockpit of the T1, PNW Components Loam grips were used for durability and comfort on long rides.
Dropper Post:
With traction, comfort and fitment addressed, the T1 had already been transformed into a much more capable electric gravel bike.
It was now that we allowed ourselves to really look into what performance upgrades we could start to explore on the T1. With T1’s internal cable routing it was a prime candidate for a dropper post.
Dropper posts are great upgrades to gravel bikes. By lowering the saddle while riding, the rider is given increased mobility over the bike as well as being able to lower your center of gravity. The upgrades to the T1 made riding rougher terrain much more doable. This in turn made a dropper post extremely valuable and frequently used on every ride.
The PNW Components Loam Dropper is a great dropper post that fits perfectly on the T1. The Loam lever also looks and feels really good. Aside from quality construction this cable actuated dropper post is easy to maintain and even has adjustable travel.
Suspension Fork:
The holy grail of gravel bike upgrades. Suspension.
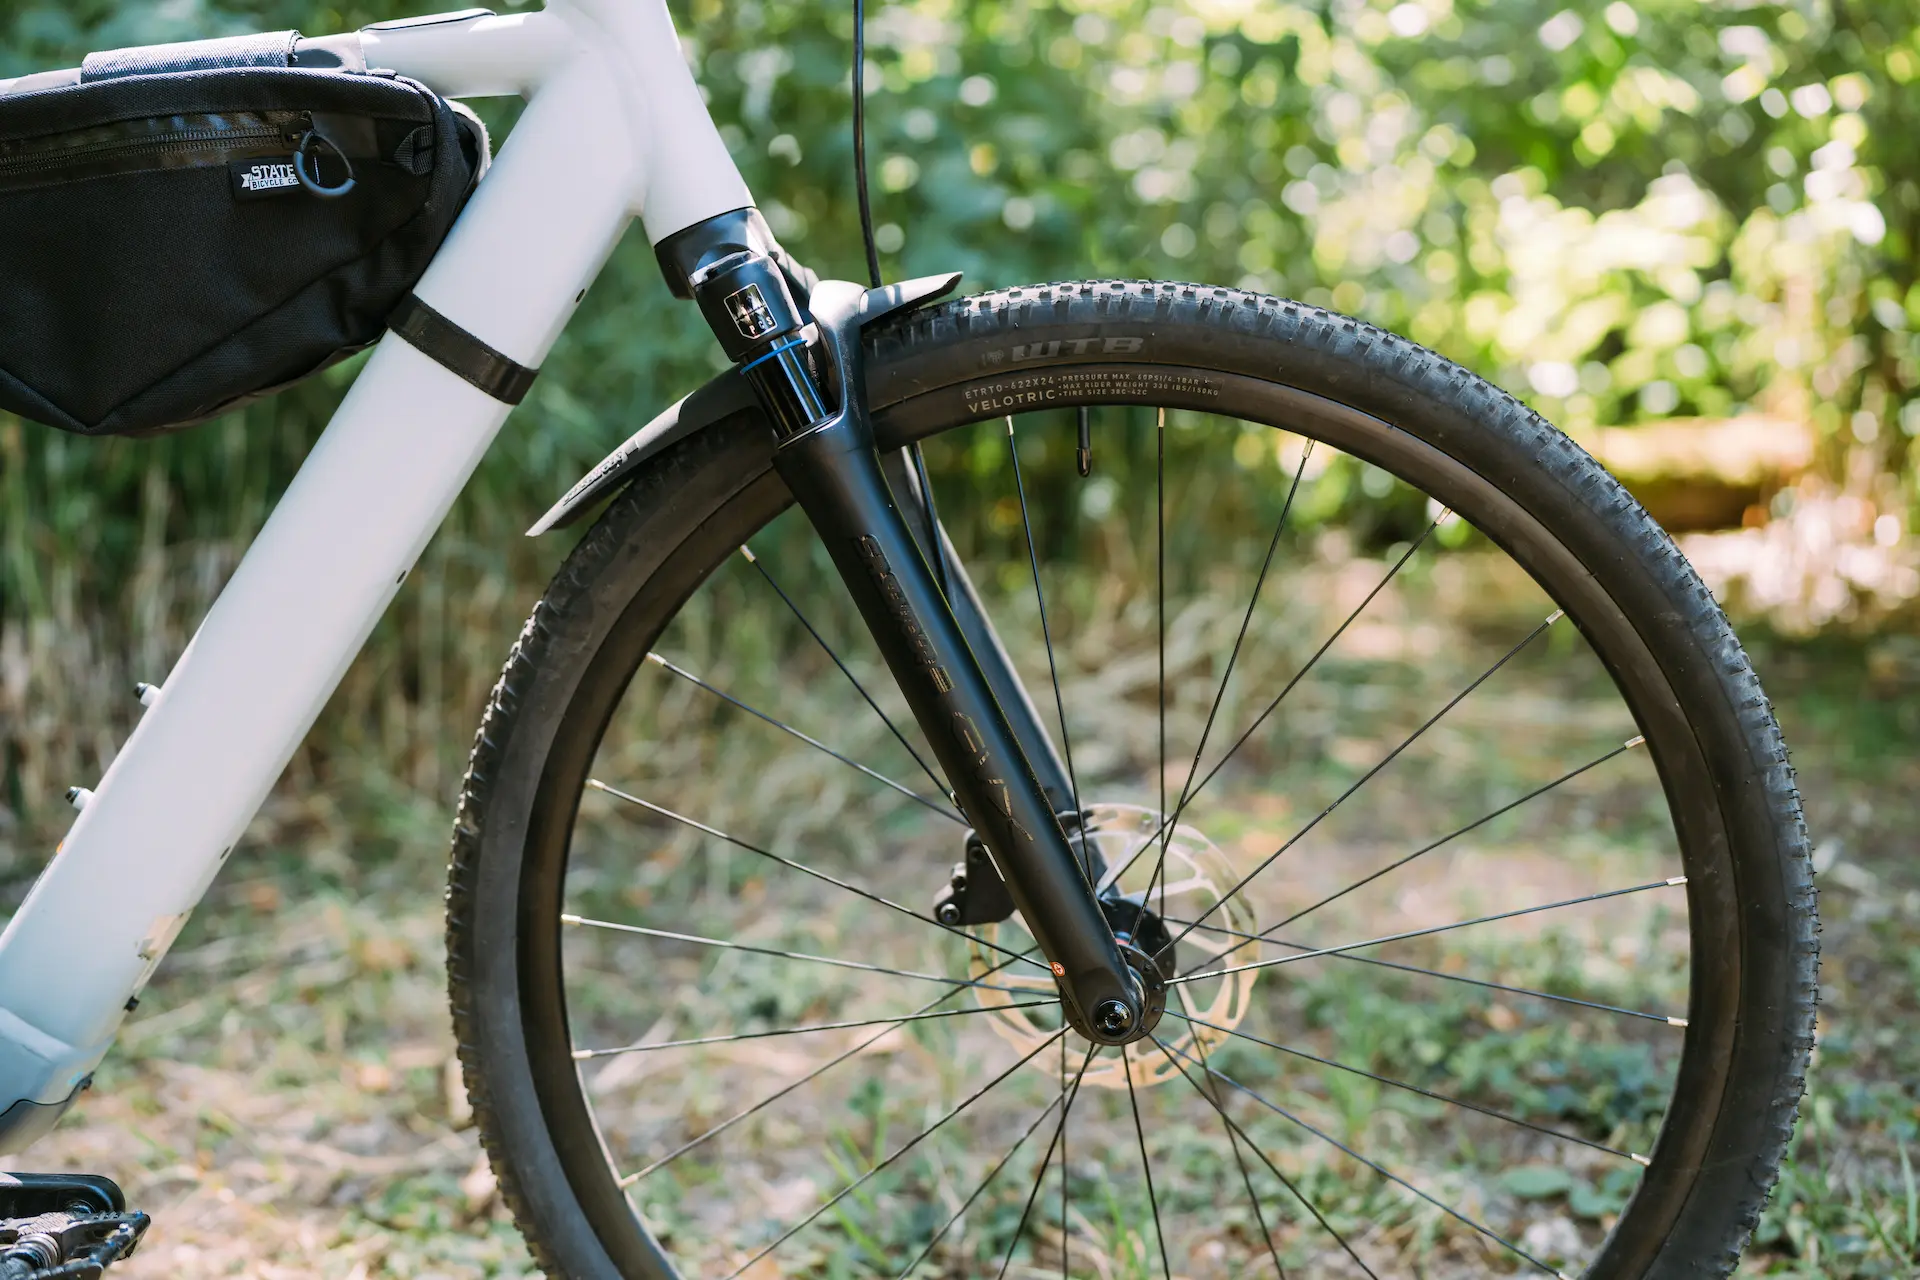
The SR Suntour GVX fork is specifically designed for gravel bikes. It has 40mm of travel and an EQ Stabilizer which helps to balance the positive and negative air chambers of the fork.
No this isn’t a mountain bike fork. 40mm of travel may not seem like a lot of travel, but the GVX rides like you’re floating on clouds. Not literally, but it does dramatically change how smooth this Aluminum framed gravel bike charges down the road.
Being able to absorb the harsh terrain relieves the amount of abuse on the body while riding. Additionally, the suspension helps keep the bike under control.
Is it worth it?
All in all, the T1 is proving to be a solid platform for an affordable electric gravel bike. It is surprisingly lightweight and can really stack up the mileage.
From the beginning, we knew that changing the tires were going to be the catalyst of improving the overall performance of the T1. As the eagerness to continue to stack up miles and explore gravel roads unfolded, dialing in the fitment of the T1 was our second focus. Saddle and cockpit added the comfort we were looking for and increased confidence while riding, especially on steep and loose descents.
With about $400 in on the T1, the questions start rolling in.
Has it made it better? What else would you do?
Tires, grips, saddle… these are all things we encourage people to consider first when upgrading or maintaining their own bikes. This will allow you to get the proper tires for your type of riding and optimize comfort to best fit your bike. The dropper post and suspension fork are a more costly upgrade, but one well worth the expense for those that really want to push the T1 to its max ability.
Due to the internal routing on the T1, the PNW Components Loam Dropper was really the only dropper that we were interested in using on the T1. That is largely due to the adjustable travel that the Loam dropper has to offer which makes it very easy to setup for the perfect saddle height to drop ratio. Being able to lower the seat height allows taking full advantage of the wider bars and boost in traction. whether it be charging down steep hills or maneuvering tight single track trails, when you are not limited by how well you can move around the bike for balance and control, it makes riding safer and easier.
Lastly the suspension fork. This by far has dramatically transformed the Velotric T1. Taking it from a stiff aluminum chassis to a smooth gravel road charging machine. With 40mm of travel in the front end, the SR Suntour GVX fork doesn’t affect the frame geometry by much, and I have found that the slight changes in geo have made it more capable when riding aggressively. Is it worth $549, that depends on the type of riding you want to do. If building the T1 out to be your dream gravel bike, it is really the icing on the cake. My hands and shoulder are significantly less tired on rough rides, and when you hit large holes or bumps in the ground especially while going fast the fork absorbs that impact keeping you on track. This is safer and enables riding much more difficult terrain.
All said and done
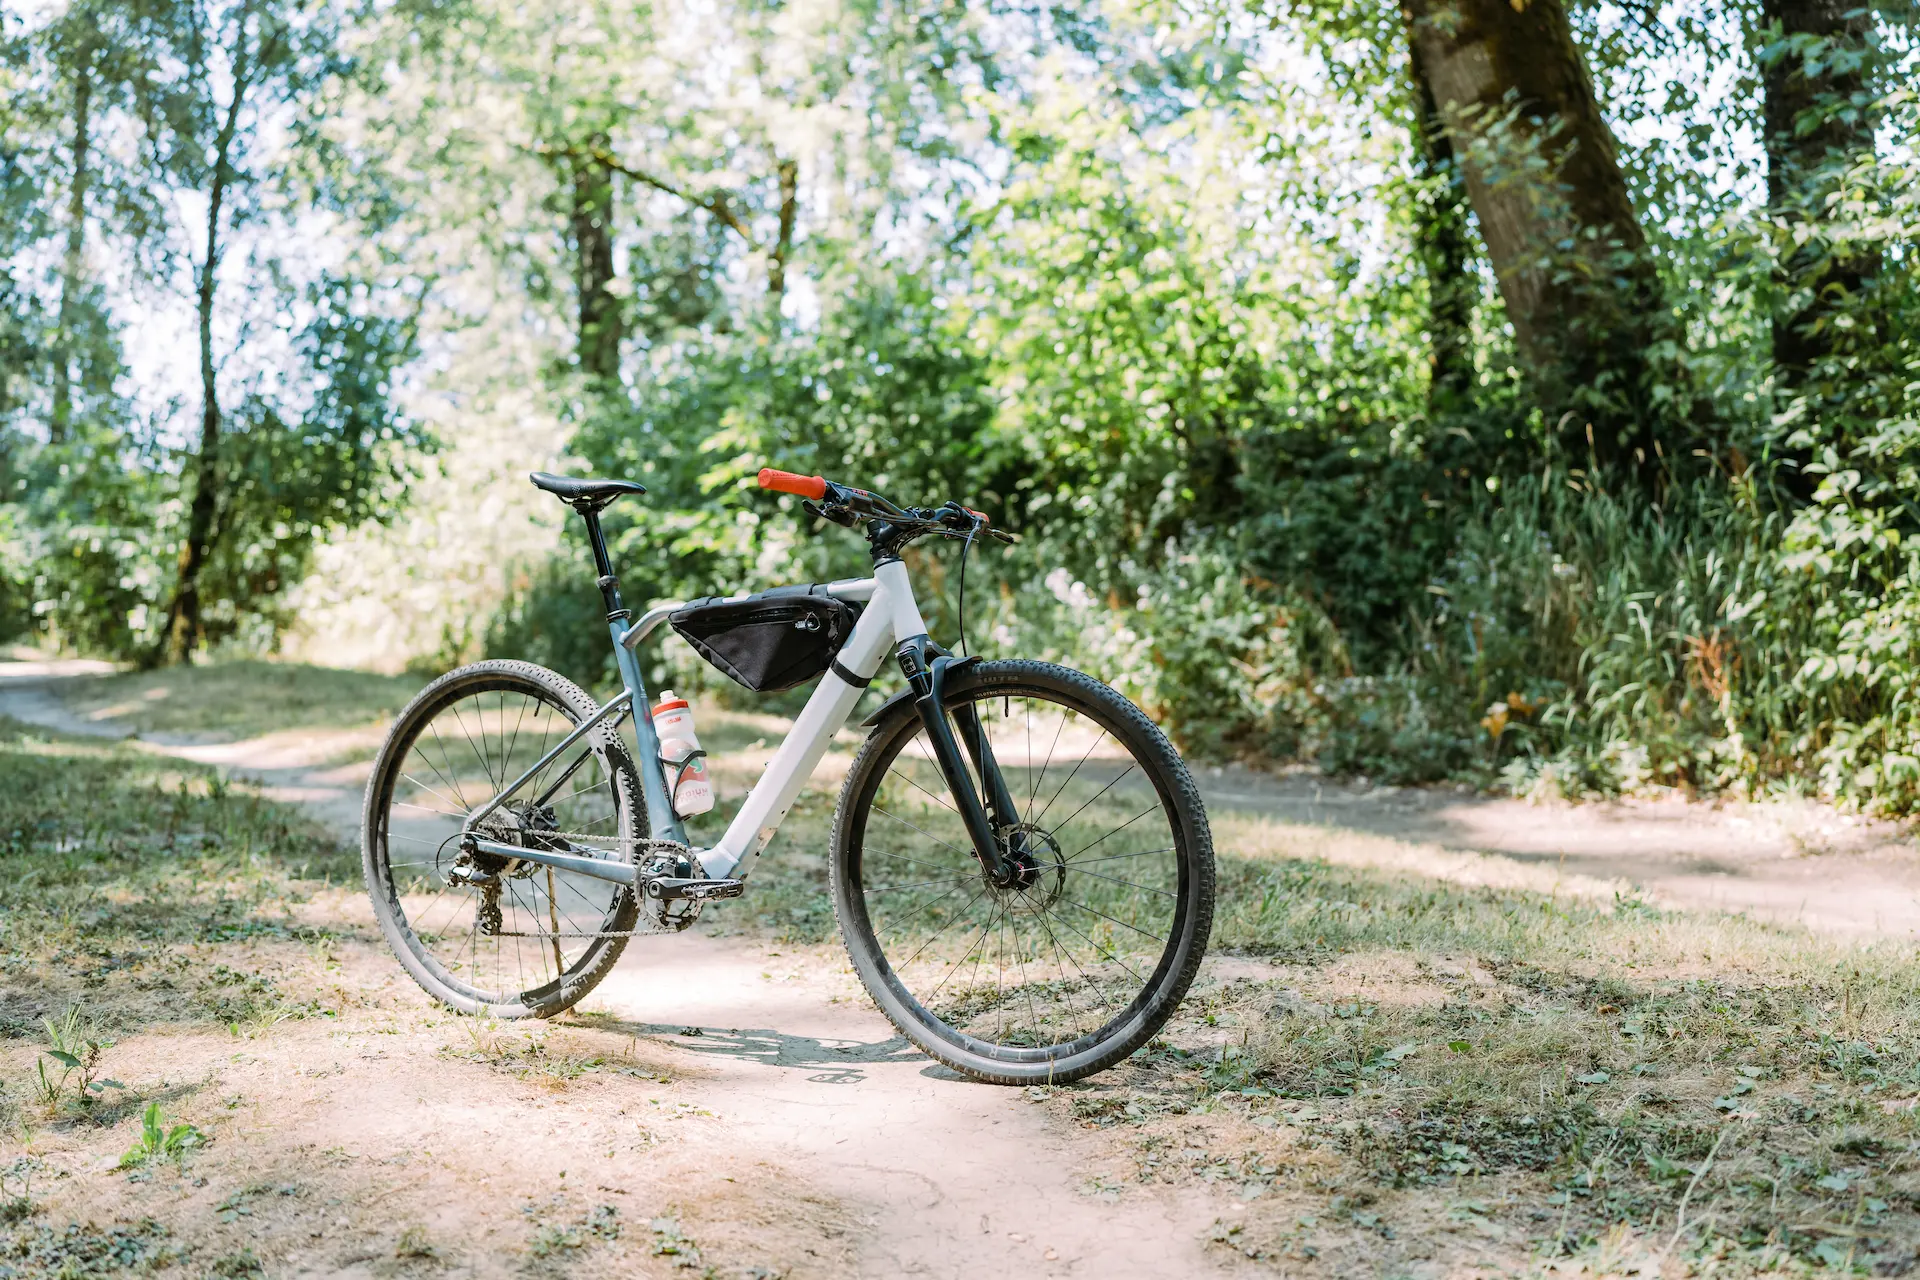
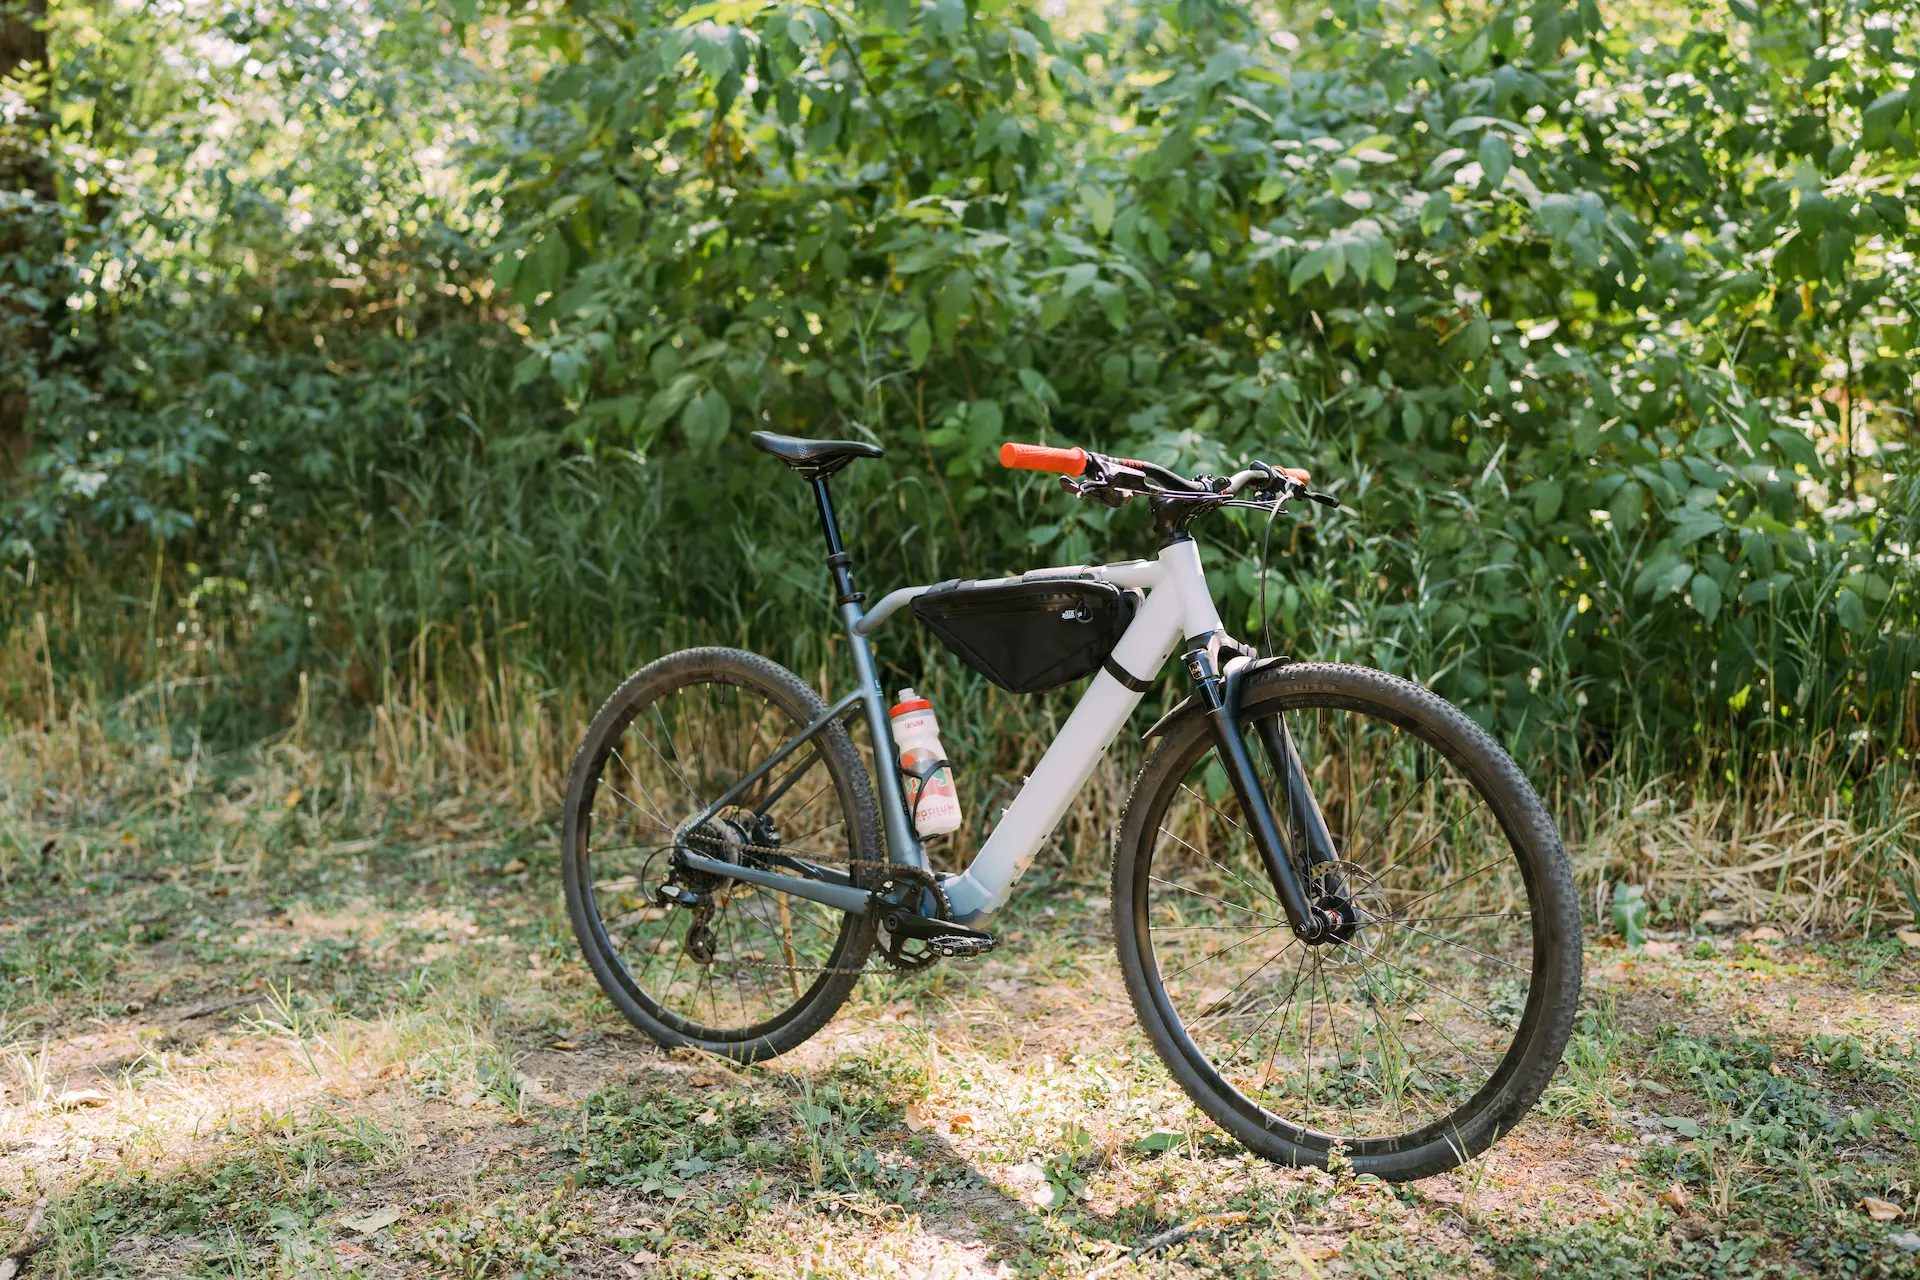
With $1300 invested into the Velotric T1, its final price is right around $3000. Now you can absolutely find electric gravel bikes for close to that price, especially if you look used. We wanted to see if these upgrades would make the T1 competitive with those other bikes. With the addition of a suspension fork and a dropper post, aside from the 8 speed drivetrain, we were able to build a much more capable bike that weighs only 40 pounds (unloaded) and has over 60 mile range.
We don’t think that these upgrades are for everyone, and some of these upgrades will not work on every bike. There is a lot of referencing necessary with your specific electric bike to ensure that your bike is compatible with some of these components. Specifically the dropper post and suspension fork. The T1 fits all of these parts correctly and you don’t have to buy additional adapters to make anything fit.
If you have a T1 and you want to get the most out of it we would suggest starting with tires and then setting up your saddle and handlebar setup for the best rider fit. Talk to your local bike shop about getting the right saddle and handlebars that will fit you the right way. From there you can continue to ride your T1 and when you find yourself needing the additional components to fully unlock the T1’s abilities a new seatpost and a fork will really take you to the next level.
As opposed to throwing all your money in on one bike, you are given the chance to customize and create the ideal setup for your type of riding.
If there were any major upgrades left on the T1, we would look into our wheels next. A tubeless setup would be likely our last and final component to upgrade on the T1 that would save a little weight and make things easier when encountering flats on long rides.


Does the Suntour GVX LO R 700 suspension fork fit the Velotric T1 without any modifications?
To install the GVX fork to the T1, there aren’t any modifications necessary. The front brake hose has to be disconnected since it is internally routed in the stock fork, whereas it is externally routed on the GVX. To fully perform the swap you’ll need an adapter for the brake caliper, Disc Brake kit for bleeding, and we’d suggest new headset bearings.
To install the GVX fork it looks like you need to convert from a 1 1/8-1 1/4 tapered steerer to a 1 1/8-1 1/2 tapered steerer. Which headset components did you use to accomplish this? Thanks much, and your install looks great!
I found that I had that same thought when I began the swap. However when the parts are all in front of you, the GVX and the original fork is exactly the same measurements on steerer. In the end I did use Cane Creek headset bearings, but don’t have a paper trail of part numbers anymore.