Needing to install new tires or fix a flat is part of being a bike owner. To remove an eBike rear wheel it is similar to any bike, with a few extra steps when managing a rear hub motor. This article will walk you through the steps of how to remove the rear wheel from your eBike, including details on how to install the tube and tire correctly.
We encourage everyone to practice this process to become familiar with the steps and tools necessary to do the job.
Here are the five basic steps to remove a rear hub motor wheel:
- Prepare the Bike: Place and balance the bike, turn off the electronics, and disconnect the motor plug.
- Remove the Wheel: Loosen the axle and remove the wheel.
- Remove the Tire: Release any remaining air in the tube, Using a tire lever, pull one side of the tire over the edge of the rim.
- Remove the Tube: With half of the tire off the rim, pull the tube out.
- Reinstall the wheel: Working in reverse order, we’ll walk you through reinstallation to get you back on the road.
Necessary Tools:
- Tire Levers
- Wrench
- Air Pump
- Clean Rag
Prepare the Bike:
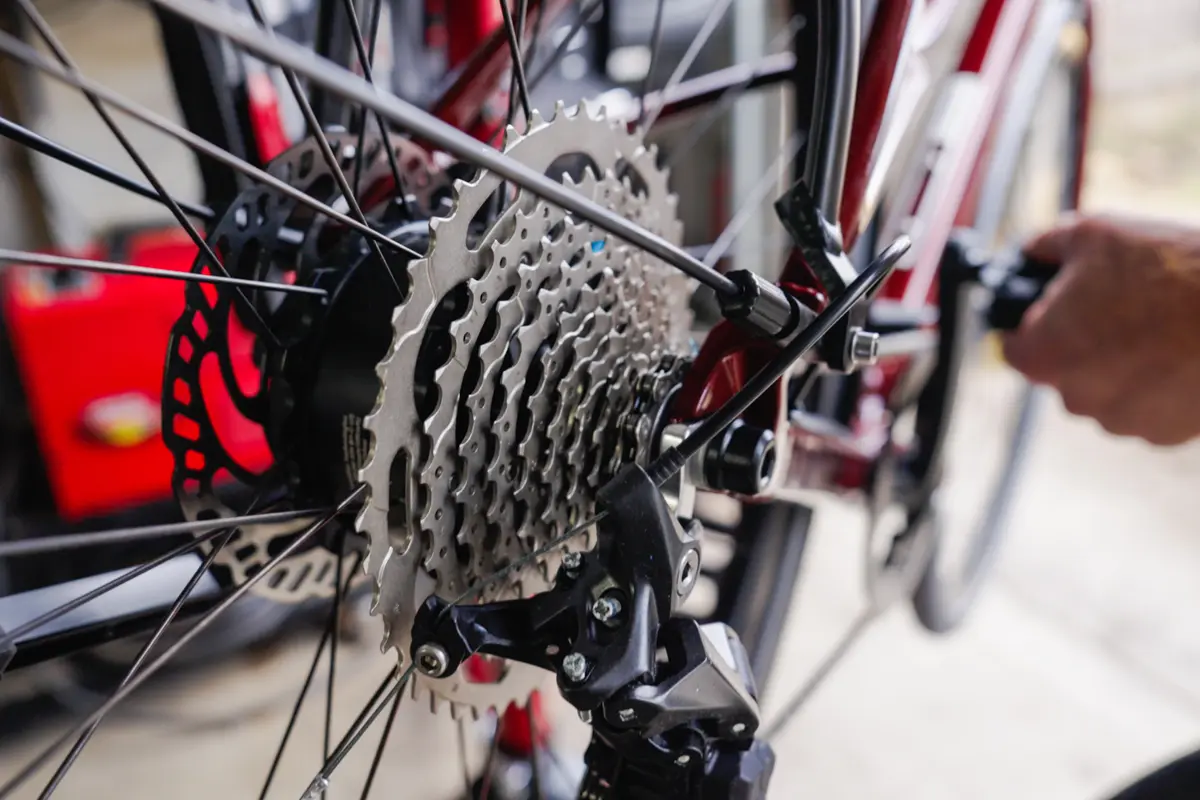
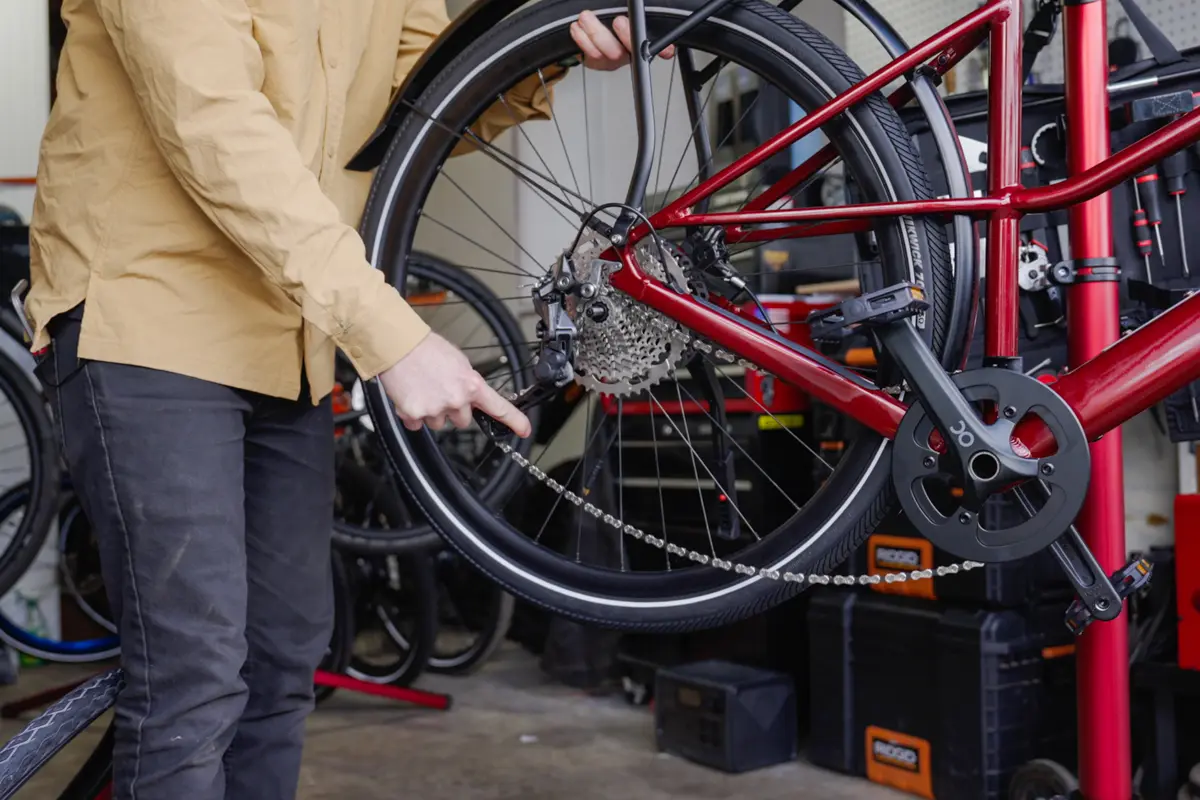
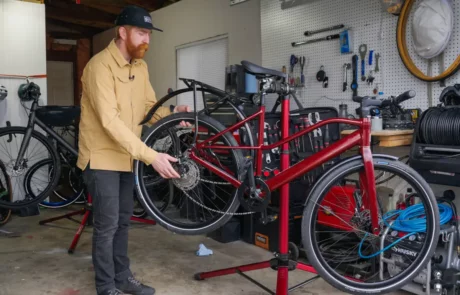
1. Before you can begin removing a wheel from an eBike shift your chain into the smallest cog of the cassette and safely position your bike for wheel removal and to prevent the bike from falling over.
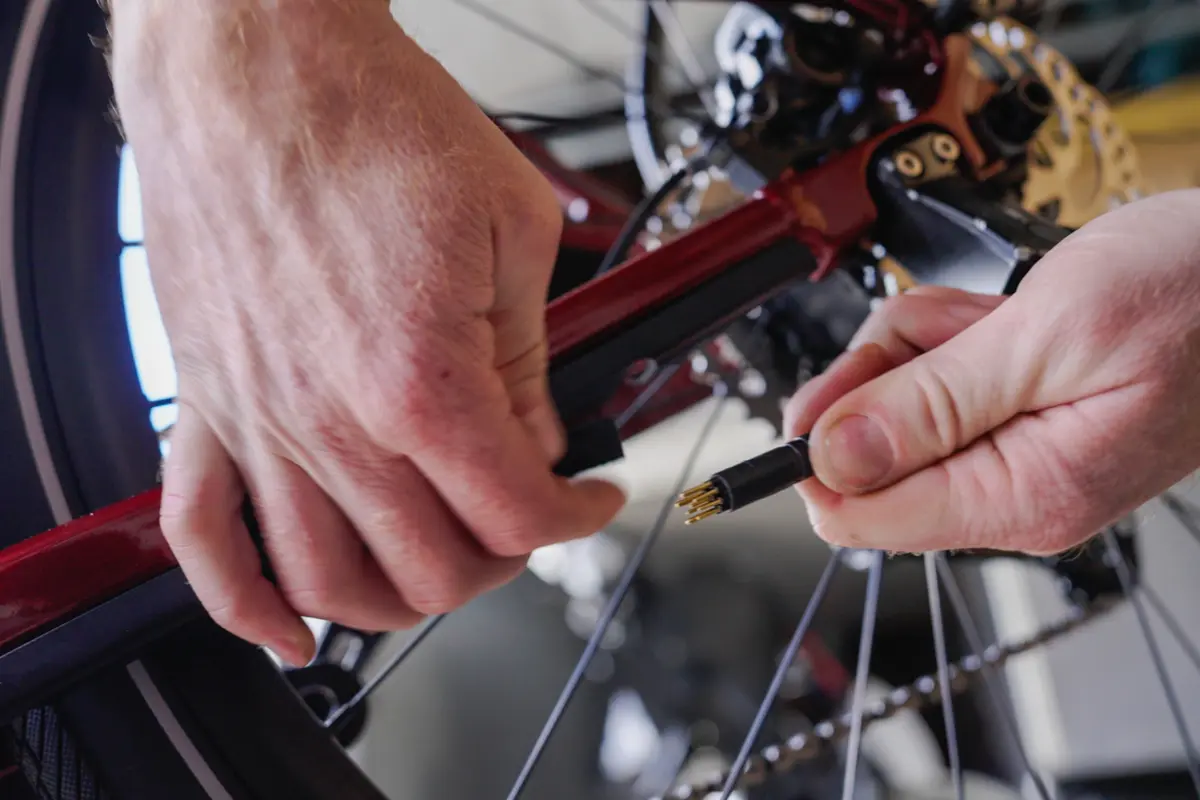
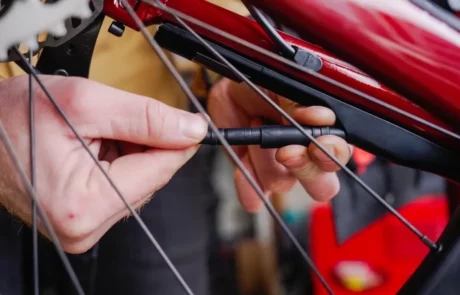
2. Next, with your eBike turned off, locate and disconnect the motor’s plug from the bike. This will be located on one of the chainstays.
3. With the bike off and motor disconnected, you are ready to remove the rear wheel.
Remove the Wheel:
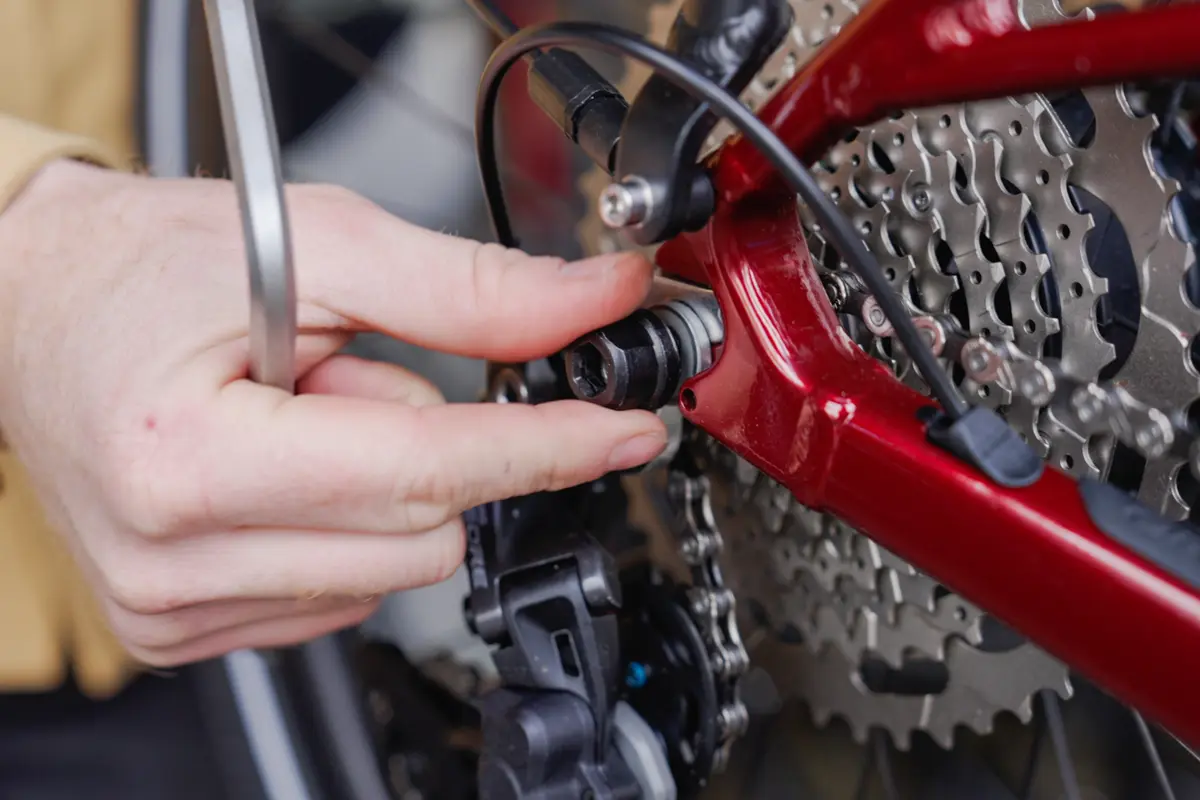
1. Rear hub drive motors use a solid axle with locking nuts on either side. Use the necessary wrench to loosen the nuts. Common wrench sizes are 15mm or 18mm.
2. Push the rear derailleur back so the chain lifts away from the cog. If your derailleur is tight, it may have clutch which can be disengaged by a toggle lever.
3. With your other hand, remove the wheel from the dropouts of the frame. If it does not move freely or seems to be catching, verify the axle nuts are not being stopped by part of the frame, if so remove them and set them aside in the order they came off.
Tips:
- Be careful not to touch the disc brake rotor, grease and grime will contaminate the metal, damaging your brakes.
- Do not use the rear brake lever with the wheel removed, this will compress the brake pads preventing the wheel from being reinstalled.
Remove the Tire:
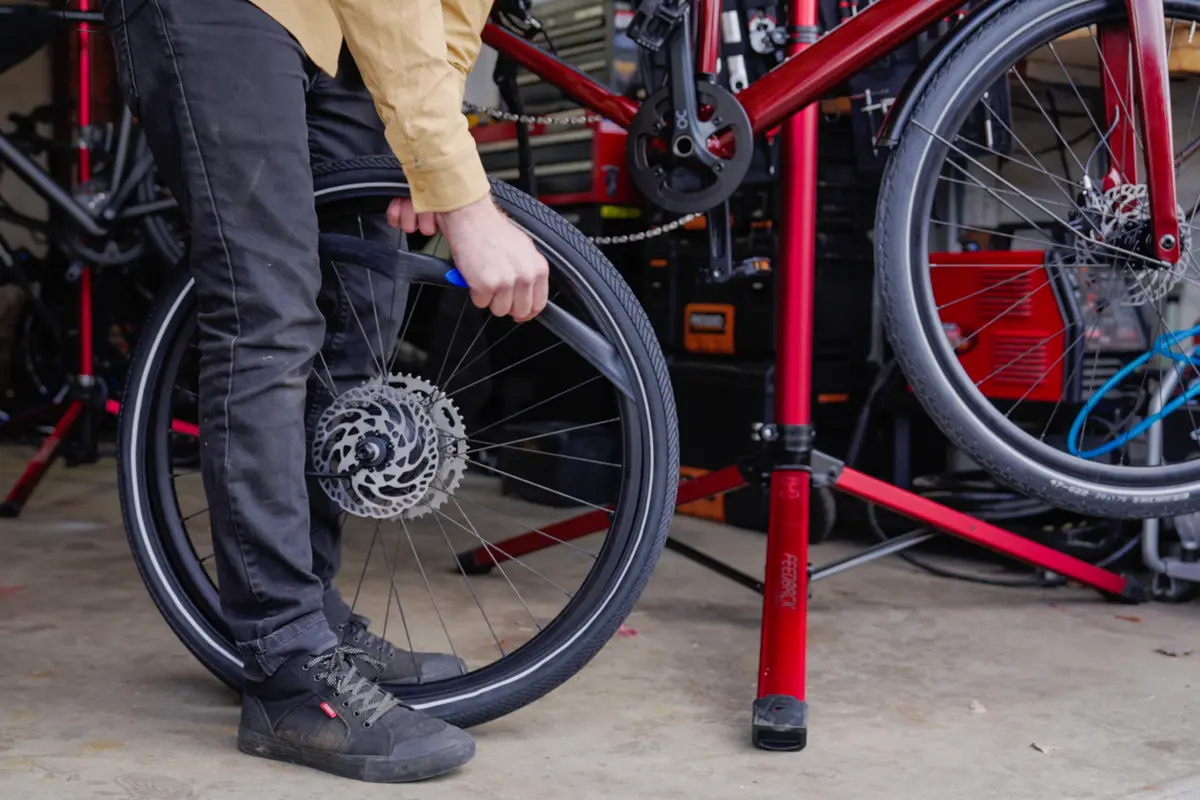
1. With the wheel removed from the frame, let any remaining air out of the tube.
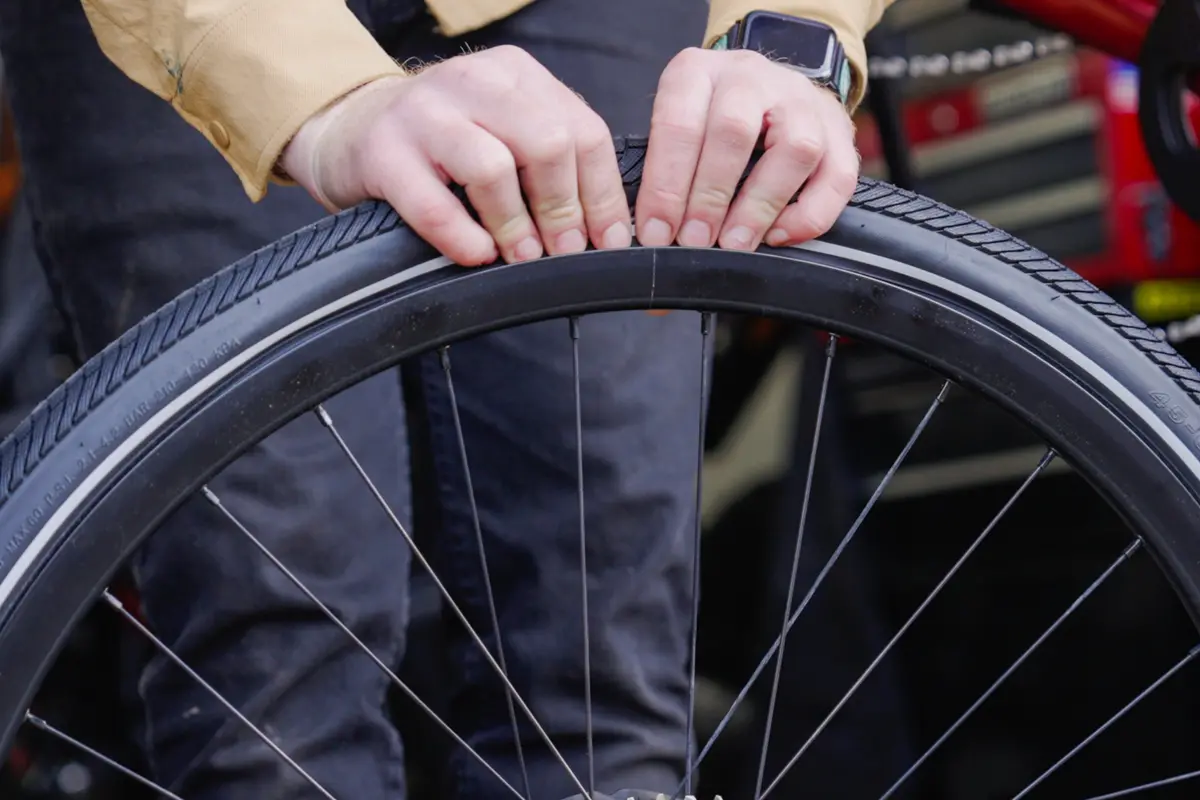
2. Next, unseat the tire bead by pushing the bead toward the center of the rim.
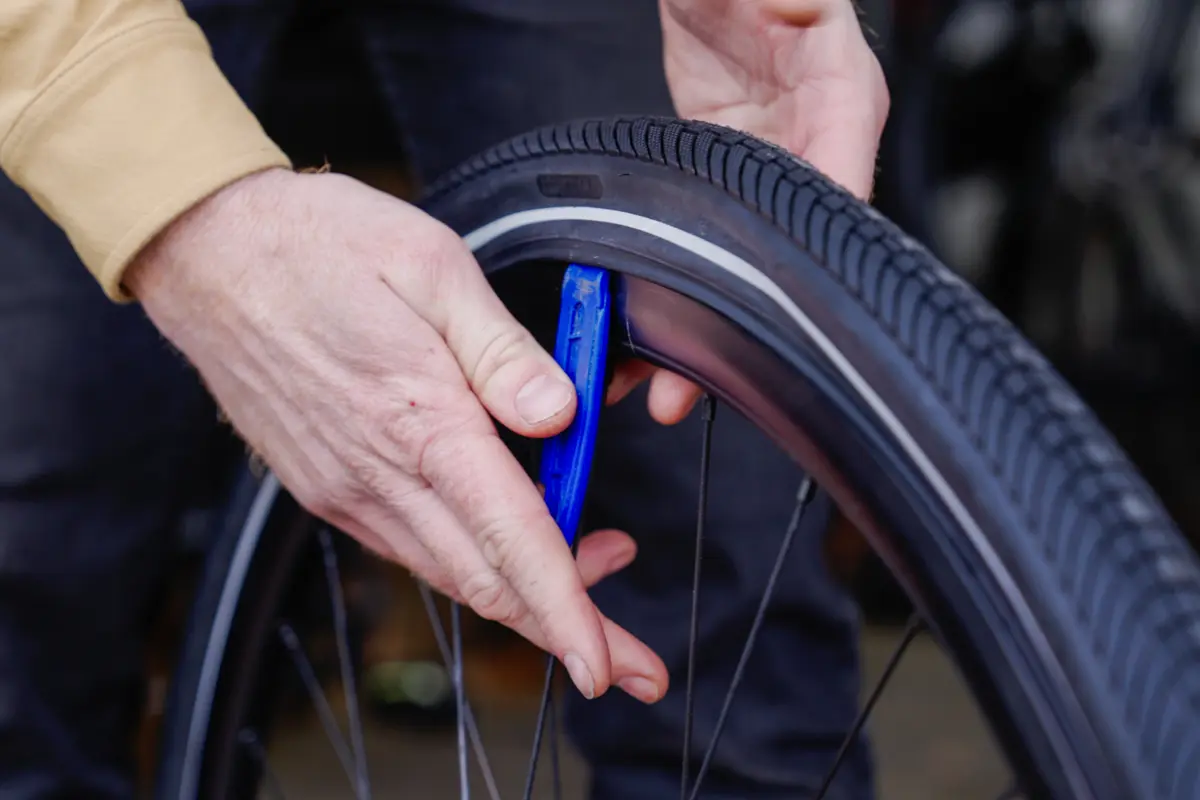
3. Starting at the opposite side of the valve stem, use a tire lever to lift the bead up and over the edge of the rim.
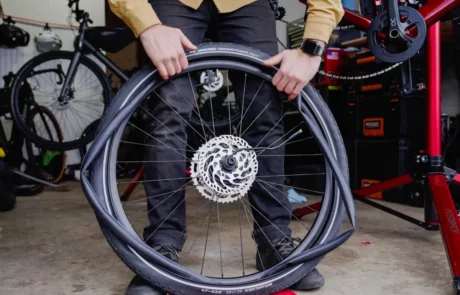
Work your way around the wheel to get half of the tire off of the rim, exposing the tube.
If you are replacing the tire with a new one, remove the tube and repeat the above steps using a tire lever if needed to remove the tire completely.
Tips:
- Some tires are easier to remove than others. Be sure the tire is in fact unseated in the center of the rim to offer the most slack in the tire.
- One tire lever may not be sufficient, sometimes two even three are necessary to remove certain tires from certain rims.
- Don’t use a flat head screwdriver or other metal tool to remove the tire. This may not only puncture the tube but can damage the rim and bead of the tire as well.
- Use a clean rag to wipe the inside of the rim to clean it of any debris.
Remove the Tube:
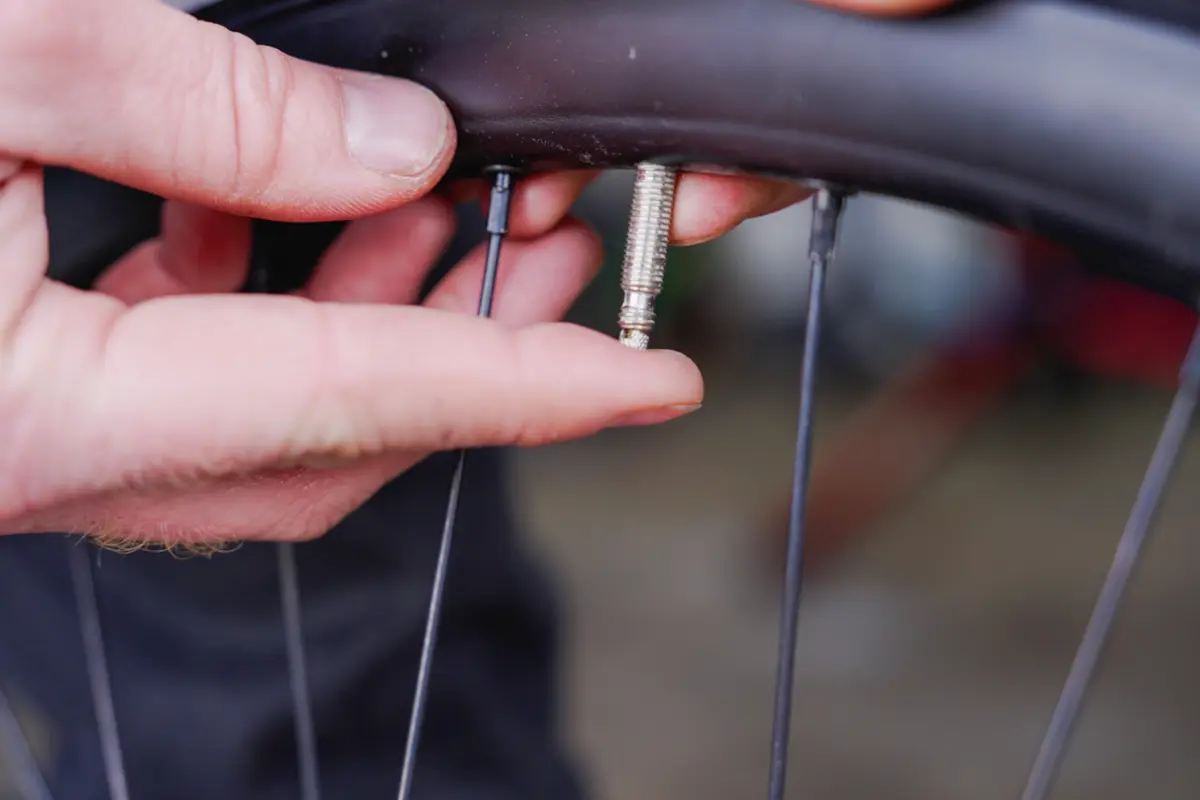
1. Starting opposite of the valve stem, remove the tube from the tire. Pushing the valve stem up through the rim, to easily remove it.
2. Inspect the tube to locate any punctures. If you are reusing the tire, use a rag to wipe the inside of the tire to ensure nothing is stuck in the tire that caused the puncture.
Tips:
- Replace your damaged tube with a new one if you can, otherwise, a patch kit will work for small punctures.
- If you have a Shrader Valve, the type seen on car tires, press down on the small pin in the center.
- If you have a Presta Valve, loosen the small valve at the top and press the pin down to release the air.
Reinstall the Wheel:
1. In the reverse order of removal, begin reinstall the tire and tube to the rim.
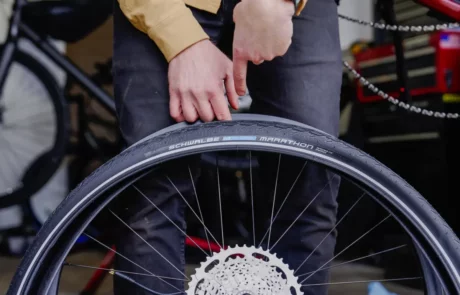
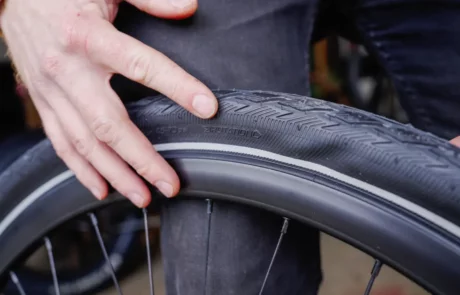
2. Starting with the tire, inspect the sidewall of the tire for a rotational arrow and align it with the rim in the correct direction.
3. Next, line up the Tire Brand Logo and align it with the valve stem hole on the rim. Push one side of the tire back onto the rim, use tire levers if needed.
4. Insert the valve stem into the valve hole of the rim. Check that it is straight and not at an angle.
Then place the rest of the tube inside the tire.
5.Beginning opposite of the valve stem, push the remaining side of the tire onto the rim.
Use tire levers as need to push the tire completely on. Be careful not to pinch the tube between the tire and rim. If the tire is too tight to push on the rim, check the areas that are on the rim to make sure they are pushed to the center. This creates more slack in the tire for easier installation.
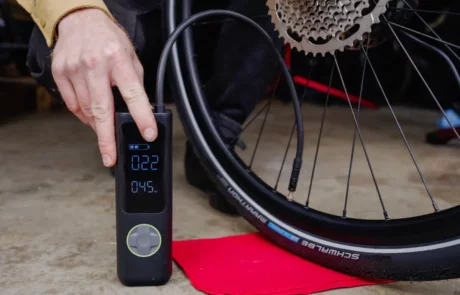
6. Now, inflate your tire to the minimum psi specification listed on the side of the tire.
Once inflated, inspect the tire on the rim checking for low spots or that the tire has fully seated back onto the rim.
7. Now, reinstall the wheel into the frame. Lineup the chain with the smallest cog and lift the wheel into the drop outs.
Check to make sure the disc brake rotor lines up between the brake pads.
8. Tighten the axle nuts and verify the wheel spins as it should.
9. Lastly, don’t forget to reconnect your motor plug before turning your bike back on.
General Tips:
- When removing and installing a tire, pushing the bead to the center of the rim will free up the slack.
- Lining up the logo with the valve stem not only looks professional, it give you the best reference point when inspecting the tube and tire.
- Tires are made to be ridden within the minimum and maximum air pressure as written on the sidewall.
- Use a clean rag to clean any surfaces before installing a new tube or tire.
- Do not touch your disc brake rotor. Oils and grease will contaminate the metals and damage them.
- Practice before you need to do this, not only learning how to do it but which tools you’ll need to keep you prepared on your rides.


Leave A Comment
You must be logged in to post a comment.